Beginner's Guide to Creating Architectural Models in SketchUp
Introduction to SketchUp for Architecture
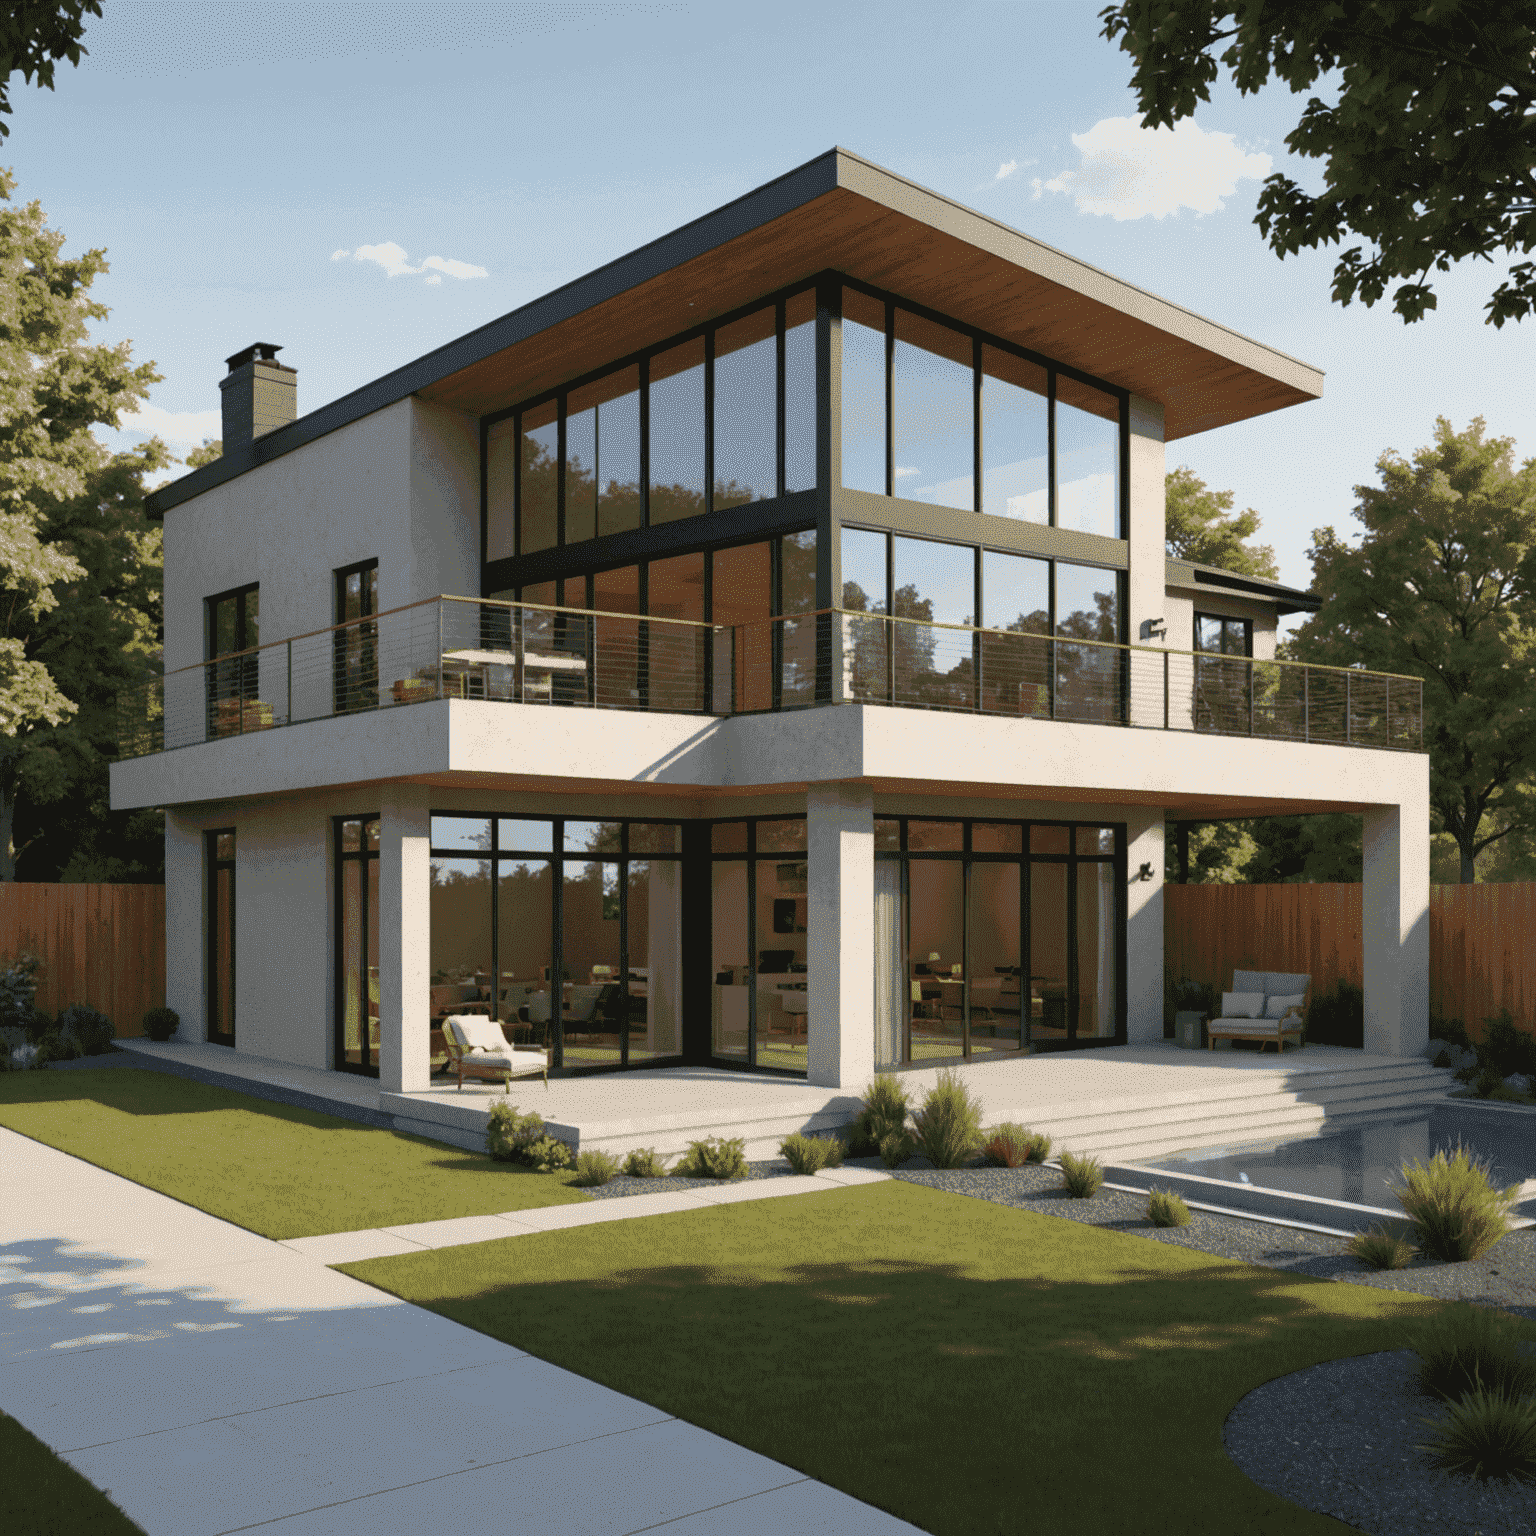
SketchUp has become one of the most popular 3D modeling tools for architects and designers due to its intuitive interface and relatively gentle learning curve. Whether you're a student, a professional architect, or simply an enthusiast, learning to create architectural models in SketchUp can significantly enhance your design process and presentation capabilities.
This comprehensive guide will walk you through the essential steps to create your first architectural 3D model in SketchUp, from setting up the workspace to adding finishing touches that will make your model stand out.
Getting Started: Setting Up Your Workspace
Before diving into modeling, it's crucial to set up your workspace correctly. Launch SketchUp and select the "Architectural Design - Feet and Inches" template if you're working in imperial units, or "Architectural Design - Meters" if you prefer metric.
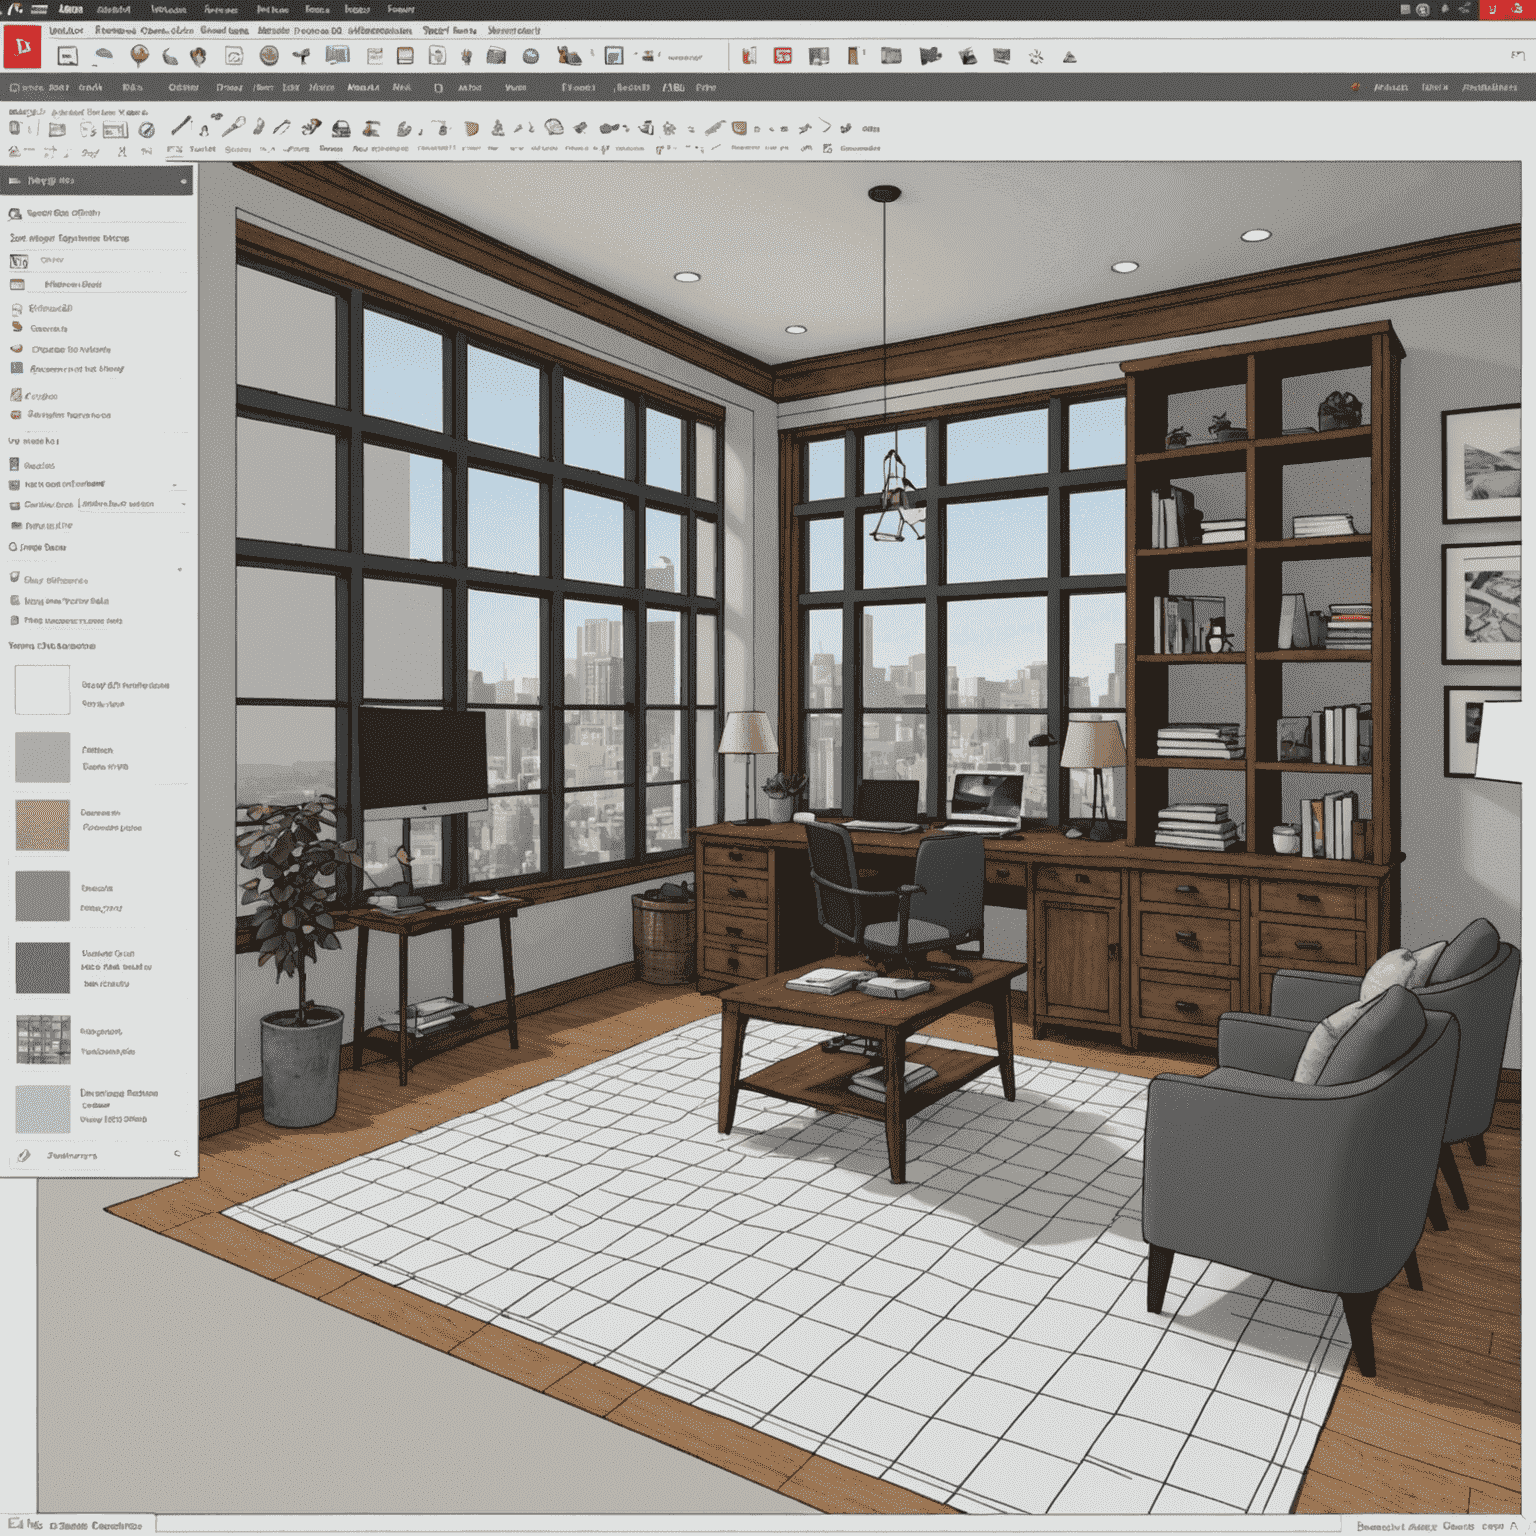
Key Workspace Elements:
- Toolbar: Contains essential modeling tools
- Measurement box: For precise dimensions
- Status bar: Provides helpful tips
- Drawing area: Your main workspace
- Axes: Red (X), Green (Y), and Blue (Z) for orientation
Basic Modeling Techniques
SketchUp's strength lies in its push/pull technology, which allows you to easily transform 2D shapes into 3D objects. Let's start with creating the basic structure of a building:
1. Creating the Building Footprint
Use the Rectangle tool to draw the footprint of your building. Input precise dimensions in the measurement box as you draw, or type them afterward (e.g., 40',30' for a 40 by 30 feet rectangle).
2. Extruding Walls
Select the Push/Pull tool, click on the rectangle, and pull upward to create walls. Type the desired height (e.g., 10' for a 10-foot wall) for precision.
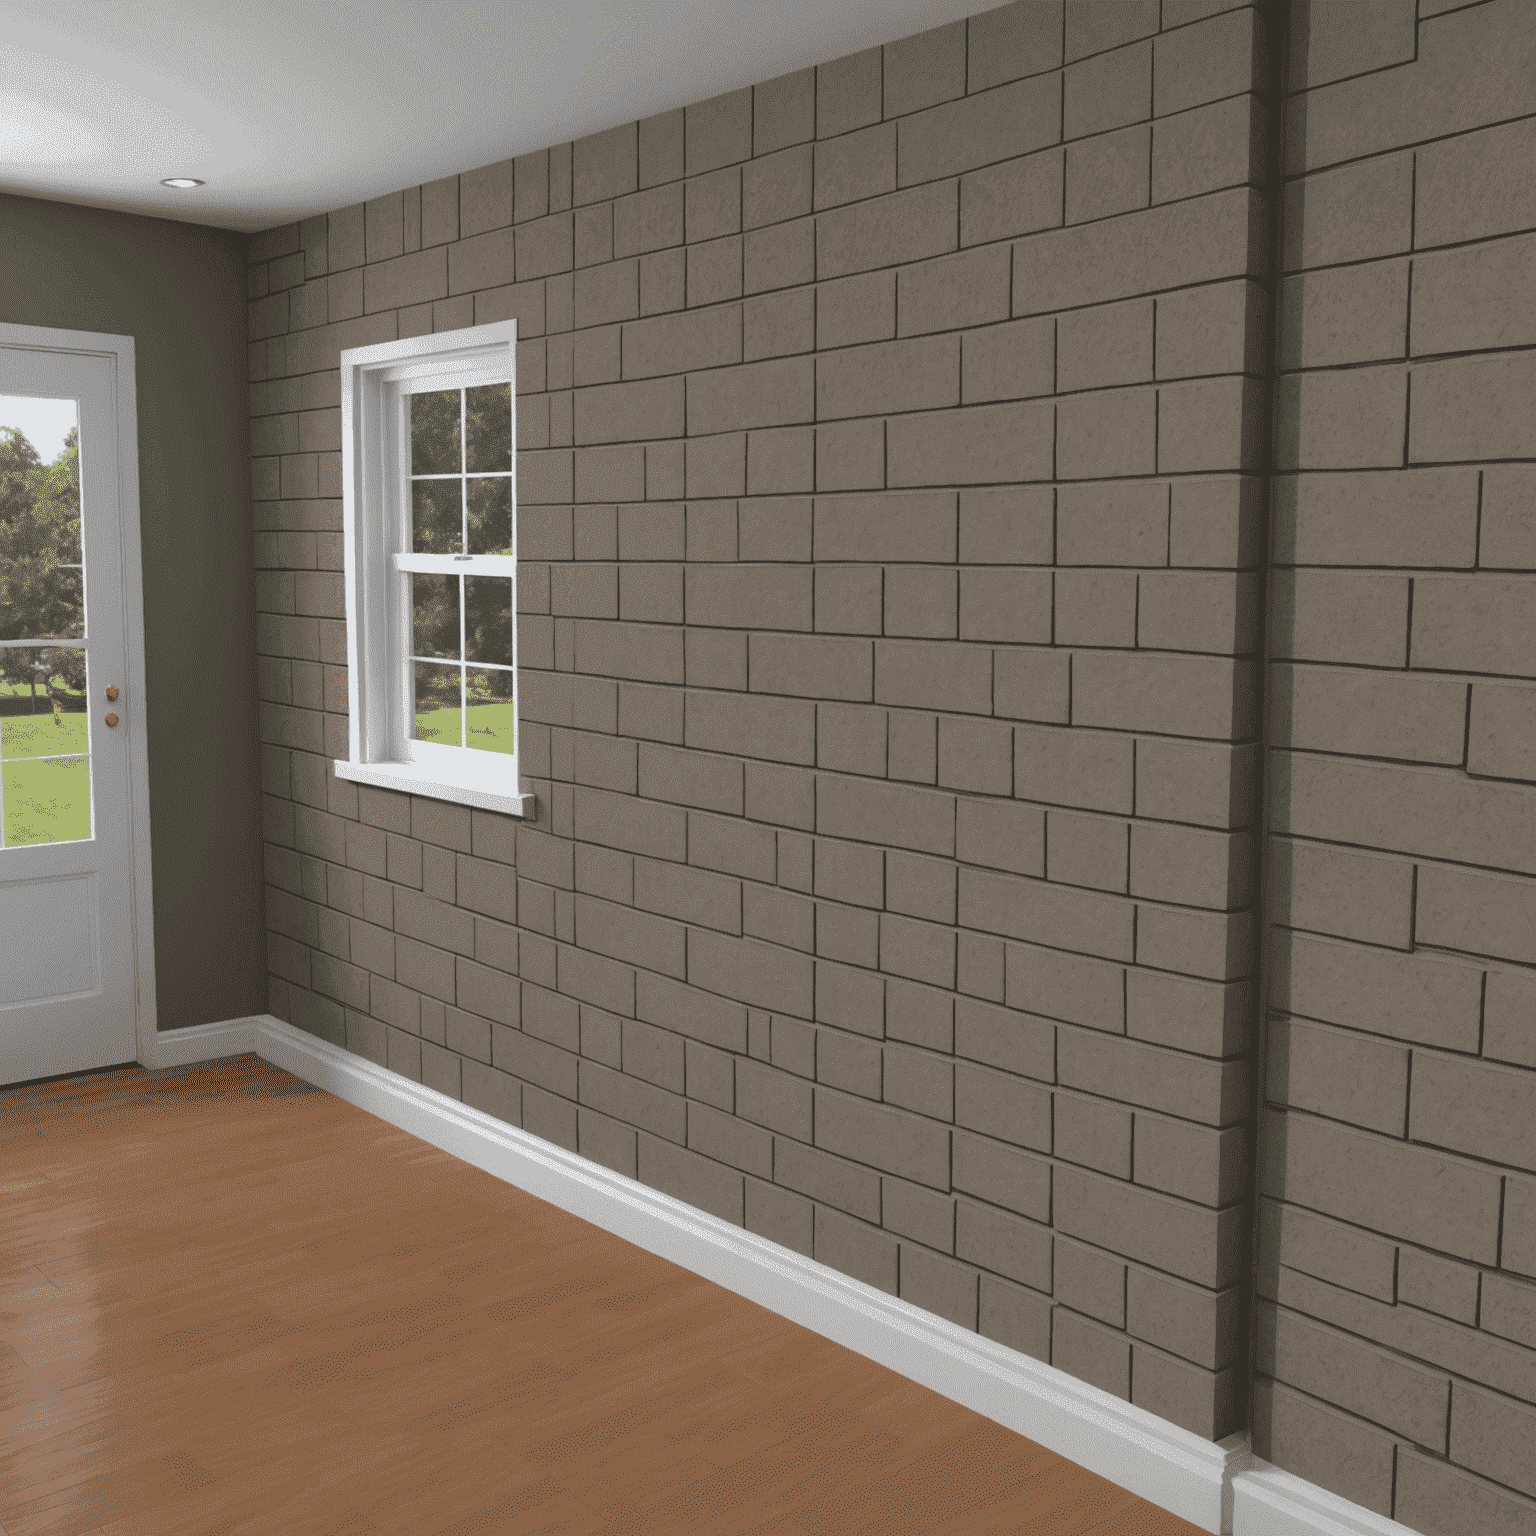
3. Adding Windows and Doors
To create openings for windows and doors:
- Draw a rectangle on the wall where you want the window/door
- Use the Push/Pull tool to push the rectangle inward until it creates an opening
- For windows that don't reach the floor, use the Line tool to draw the bottom edge first
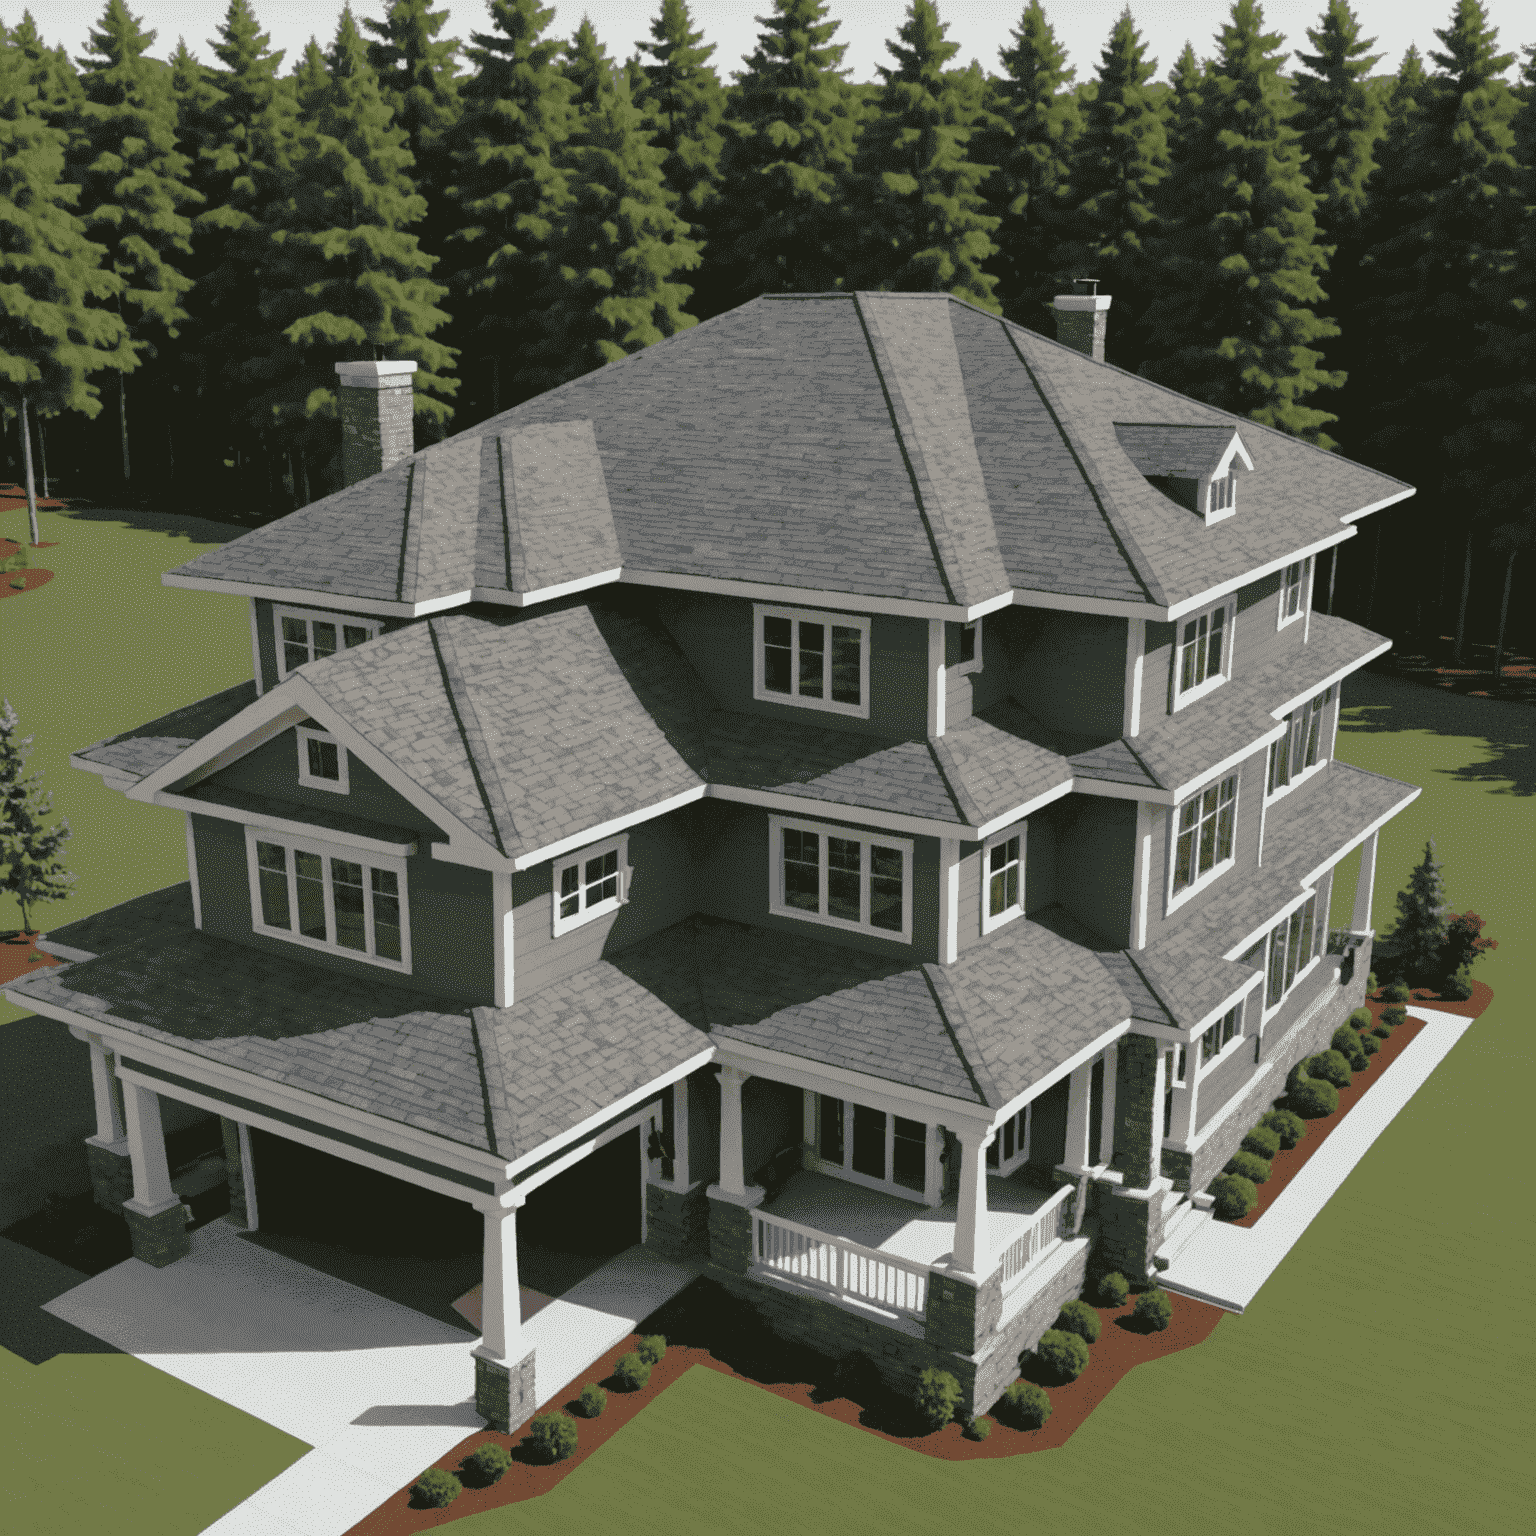
4. Creating a Roof
There are several approaches to creating roofs in SketchUp:
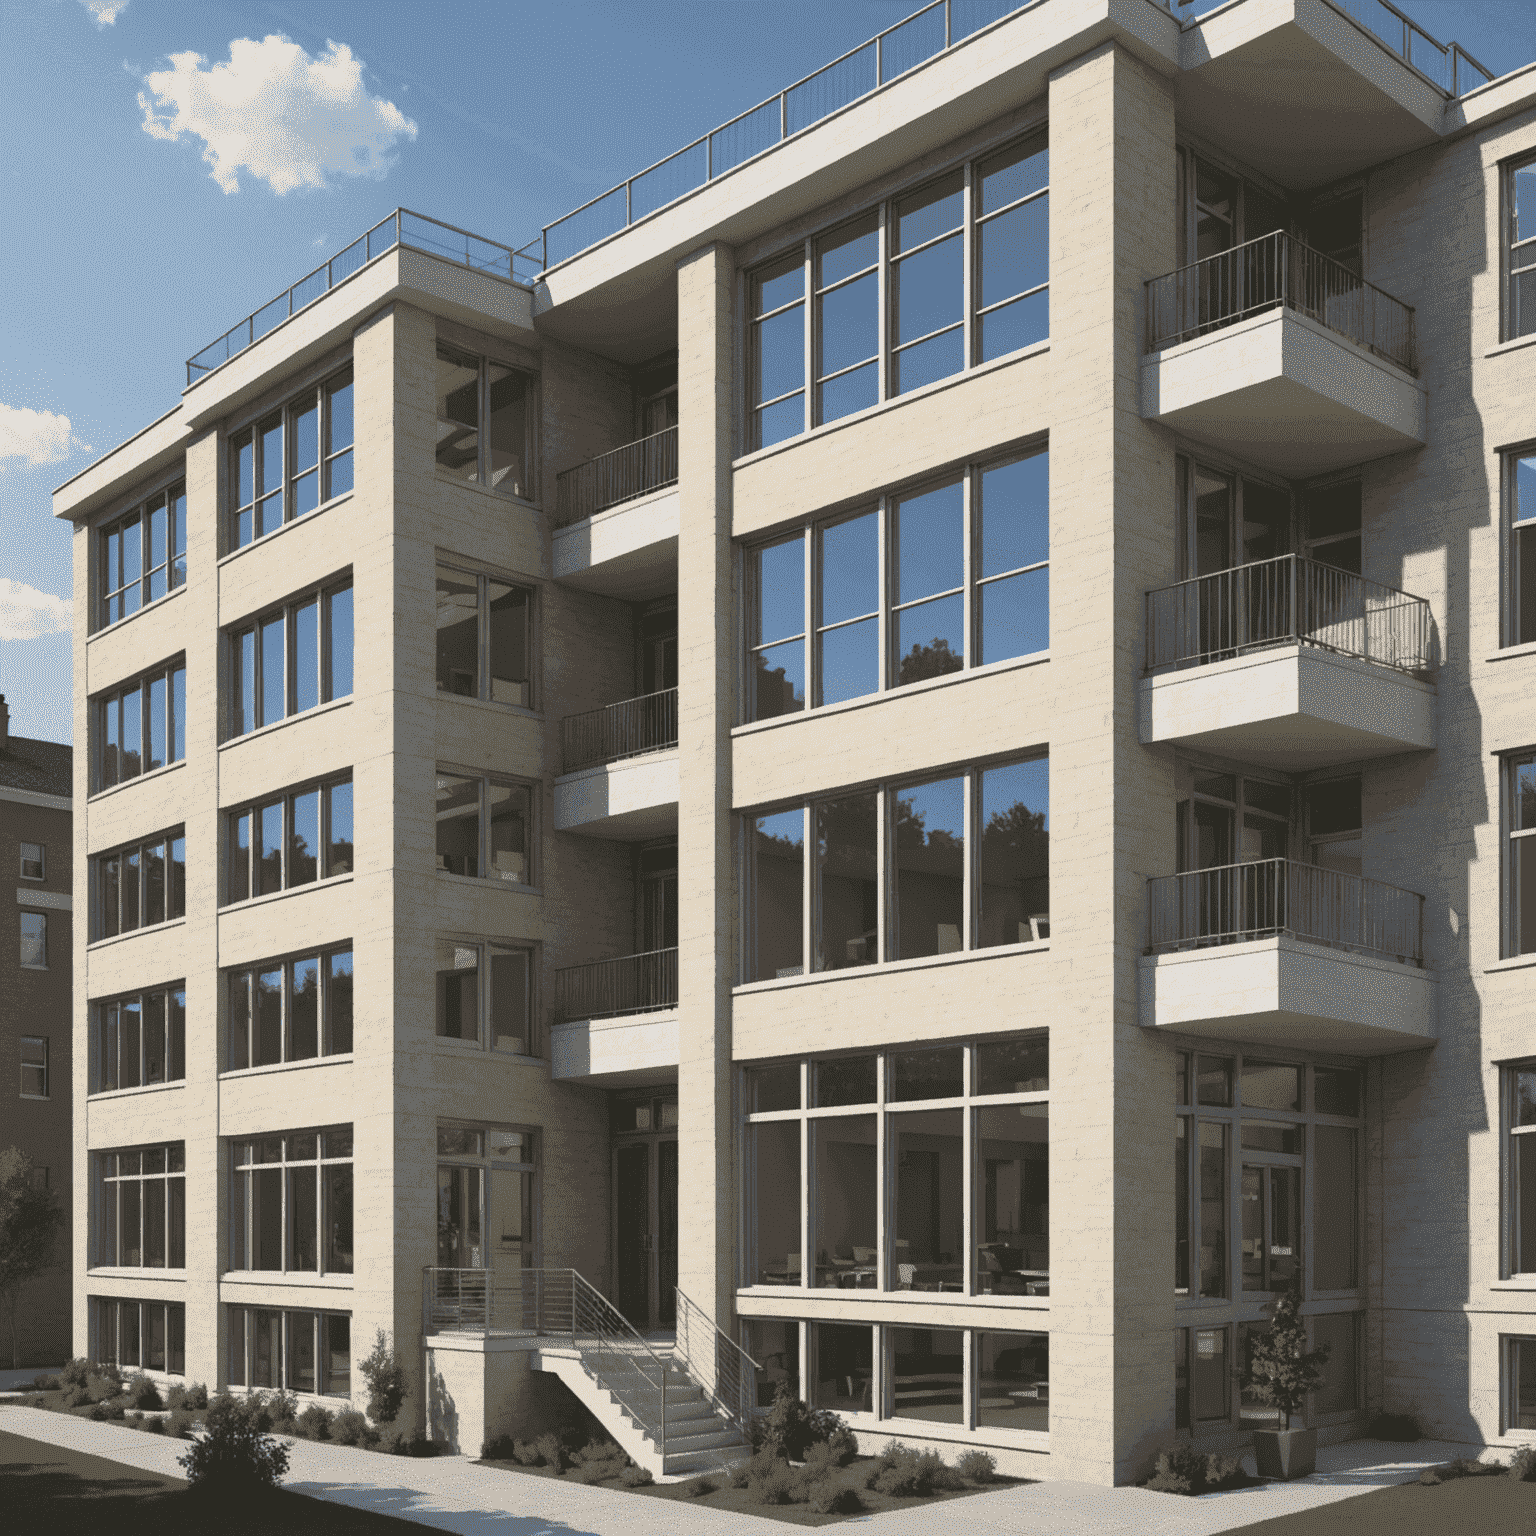
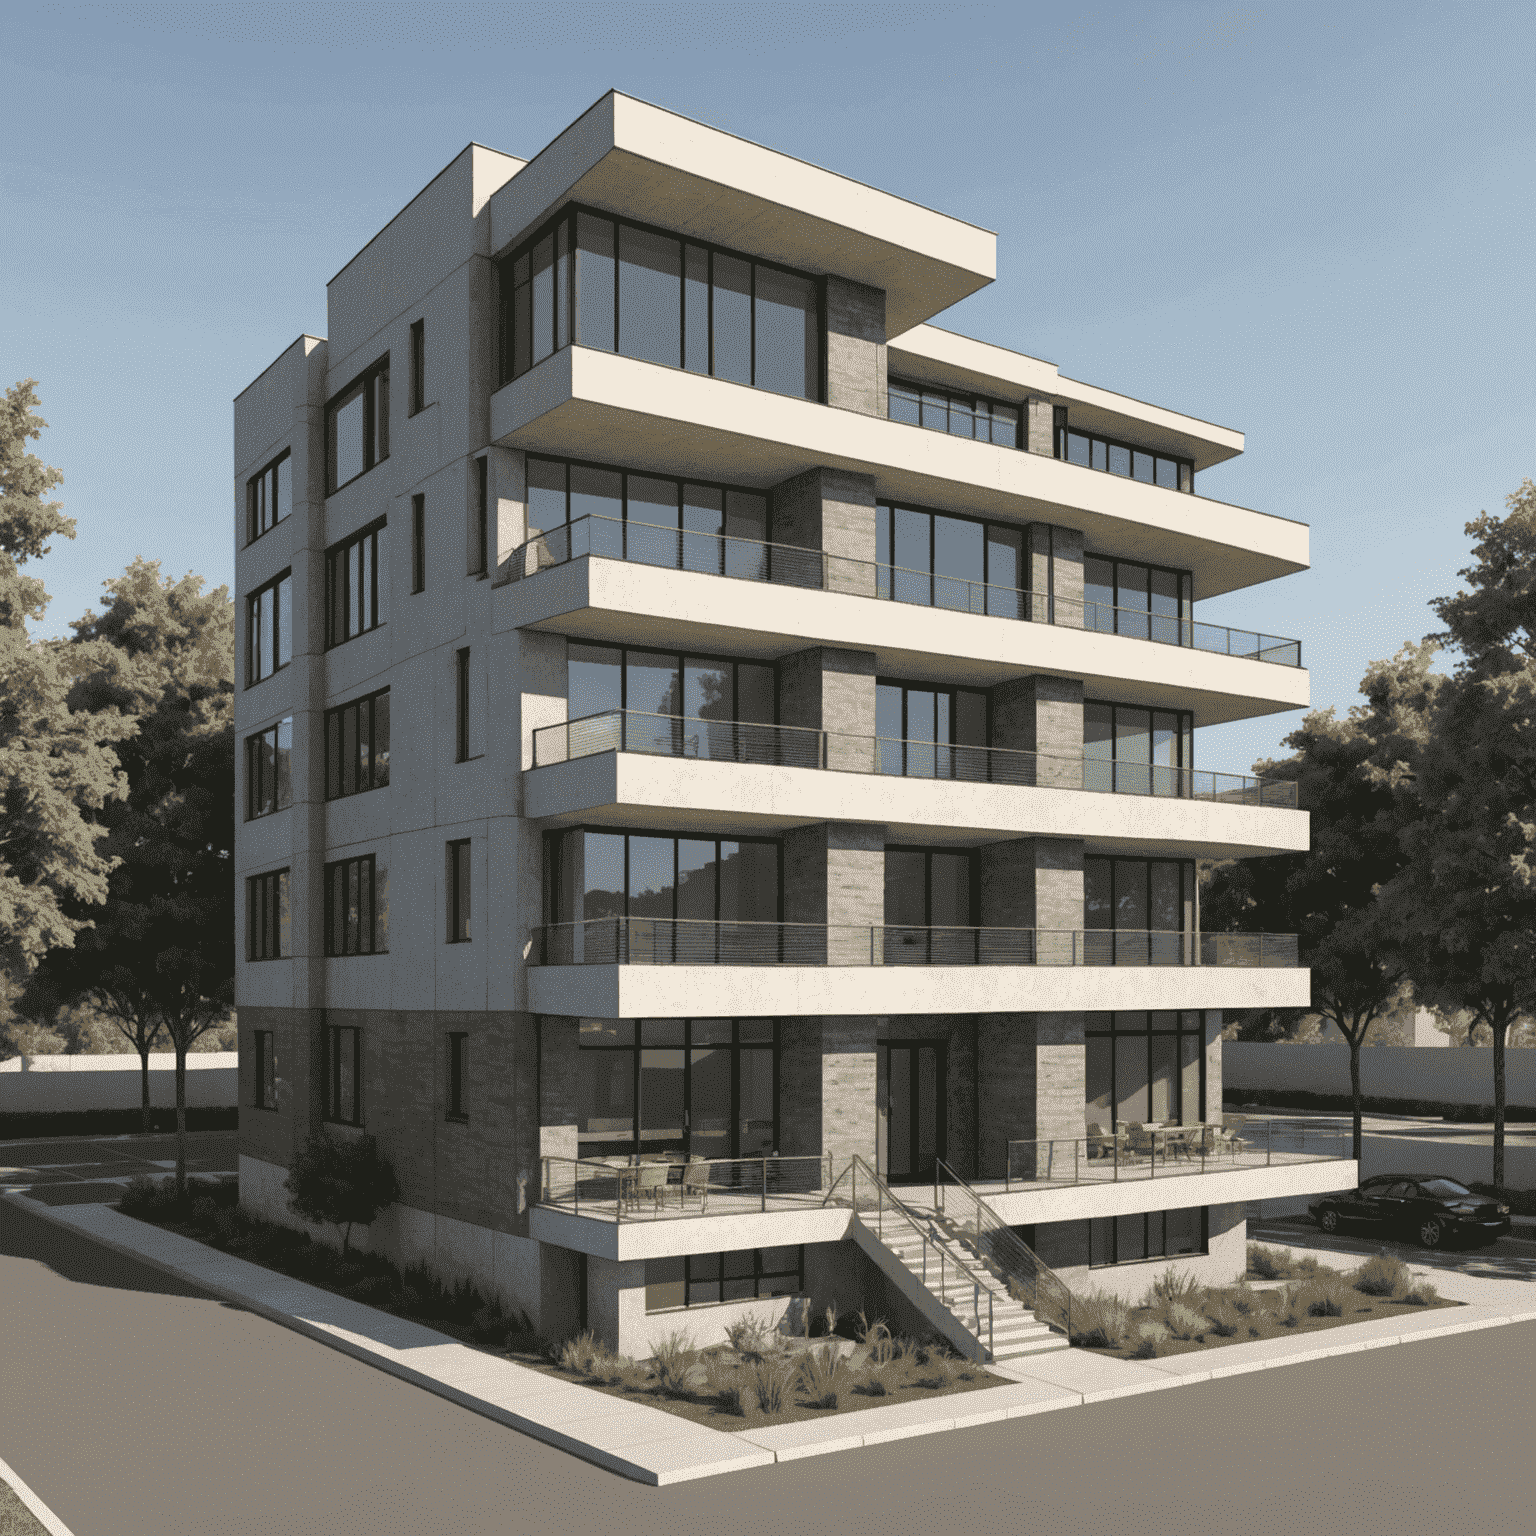
- Flat Roof: Simply draw a rectangle on top of your walls and extrude it to the desired thickness
- Gabled Roof: Use the Line tool to draw a triangle at the end of your building, then use Push/Pull to extrude it along the length
- Hip Roof: Draw guidelines for the roof slopes, create faces, and then use the Move tool to raise the central ridge

Flat Roof

Gabled Roof
Hip Roof
Adding Detail and Realism
1. Materials and Textures
SketchUp's Materials panel allows you to apply textures to your model surfaces:
- Open the Materials panel (Window > Materials)
- Browse through the libraries or import your own textures
- Select a material and click on the surface to apply it
- Use the Paint Bucket tool for more control over application
2. Components and Groups
Organizing your model with components and groups is essential for efficient workflow:
- Groups: Select elements and right-click to create a group (keeps elements together)
- Components: Similar to groups but changes to one instance affect all instances (ideal for repeated elements like windows)
3. Adding Furniture and Fixtures
Populate your model with furniture and fixtures to give it scale and context:
- Use the 3D Warehouse (File > 3D Warehouse) to find pre-made components
- Scale components appropriately using the Scale tool
- Position elements using the Move tool
- Group related items together for easier manipulation
4. Landscape Elements
Complete your architectural model with landscape elements:
- Create terrain using the Sandbox tools (if enabled in Preferences > Extensions)
- Add trees, shrubs, and other vegetation from the 3D Warehouse
- Create pathways and driveways using the Line and Push/Pull tools
- Add site context elements like fences, roads, or neighboring buildings
Presentation and Visualization
1. Setting Up Scenes
Scenes allow you to save specific views of your model for presentation:
- Position your view as desired
- Click the + button in the Scenes panel (Window > Scenes)
- Name your scene appropriately
- Create multiple scenes for a complete presentation
2. Styles and Shadows
Enhance the visual appeal of your model with styles and shadows:
- Experiment with different styles in the Styles panel (Window > Styles)
- Enable shadows (View > Shadows)
- Adjust shadow settings for time of day and intensity
- Consider combining styles with scenes for different presentation views
Sketchy Style
Realistic Style with Shadows
3. Exporting Your Work
Share your model through various export options:
- 2D Images: File > Export > 2D Graphic
- 3D Models: File > Export > 3D Model (for use in other software)
- Animations: Export scene transitions as videos
- Layout: Use SketchUp's companion app for creating presentation documents
Common Challenges and Solutions
| Challenge | Solution |
|---|---|
| Model becomes slow and laggy | Use groups and components, purge unused items, and consider using the Outliner to manage complex models |
| Faces not forming correctly | Ensure lines connect precisely at endpoints; use the Zoom tool to check connections |
| Difficulty creating complex shapes | Break down complex forms into simpler geometries; use the Follow Me tool for curved extrusions |
| Textures look distorted | Right-click on the face and use "Texture > Position" to adjust texture alignment and scale |
| Model dimensions are inaccurate | Use the Tape Measure tool to verify dimensions; enable length snapping in Model Info |
Conclusion
Creating architectural models in SketchUp is a rewarding process that combines technical precision with creative expression. As you practice these techniques, you'll develop your own workflow and style. Remember that the best way to learn is by doing—start with simple projects and gradually take on more complex challenges.
This guide has covered the fundamentals, but SketchUp offers many more advanced features to explore as you become more comfortable with the software. Extensions, in particular, can significantly expand SketchUp's capabilities for architectural modeling.
Whether you're designing your dream home, working on a professional project, or simply exploring architectural concepts, SketchUp provides the tools you need to bring your ideas to life in three dimensions.
Pro Tips for Better Models
- Start with accurate measurements and a clear plan
- Use keyboard shortcuts to speed up your workflow
- Create a library of your commonly used components
- Regularly save versions of your work
- Study real buildings to understand architectural details
- Join online communities to share work and get feedback