Creating Photorealistic Renders from Your SketchUp 3D Models
Transforming a basic SketchUp model into a stunning photorealistic render can dramatically enhance your presentations and impress clients. This comprehensive guide walks you through the essential steps and techniques to elevate your 3D models from simple geometry to lifelike visualizations.
Understanding the Basics of Photorealistic Rendering
Photorealistic rendering is the process of generating an image from a 3D model that is indistinguishable from a photograph. The key elements that contribute to photorealism include:
- Accurate lighting and shadows
- Realistic materials and textures
- Proper scale and proportions
- Environmental context and atmosphere
- Camera settings and composition
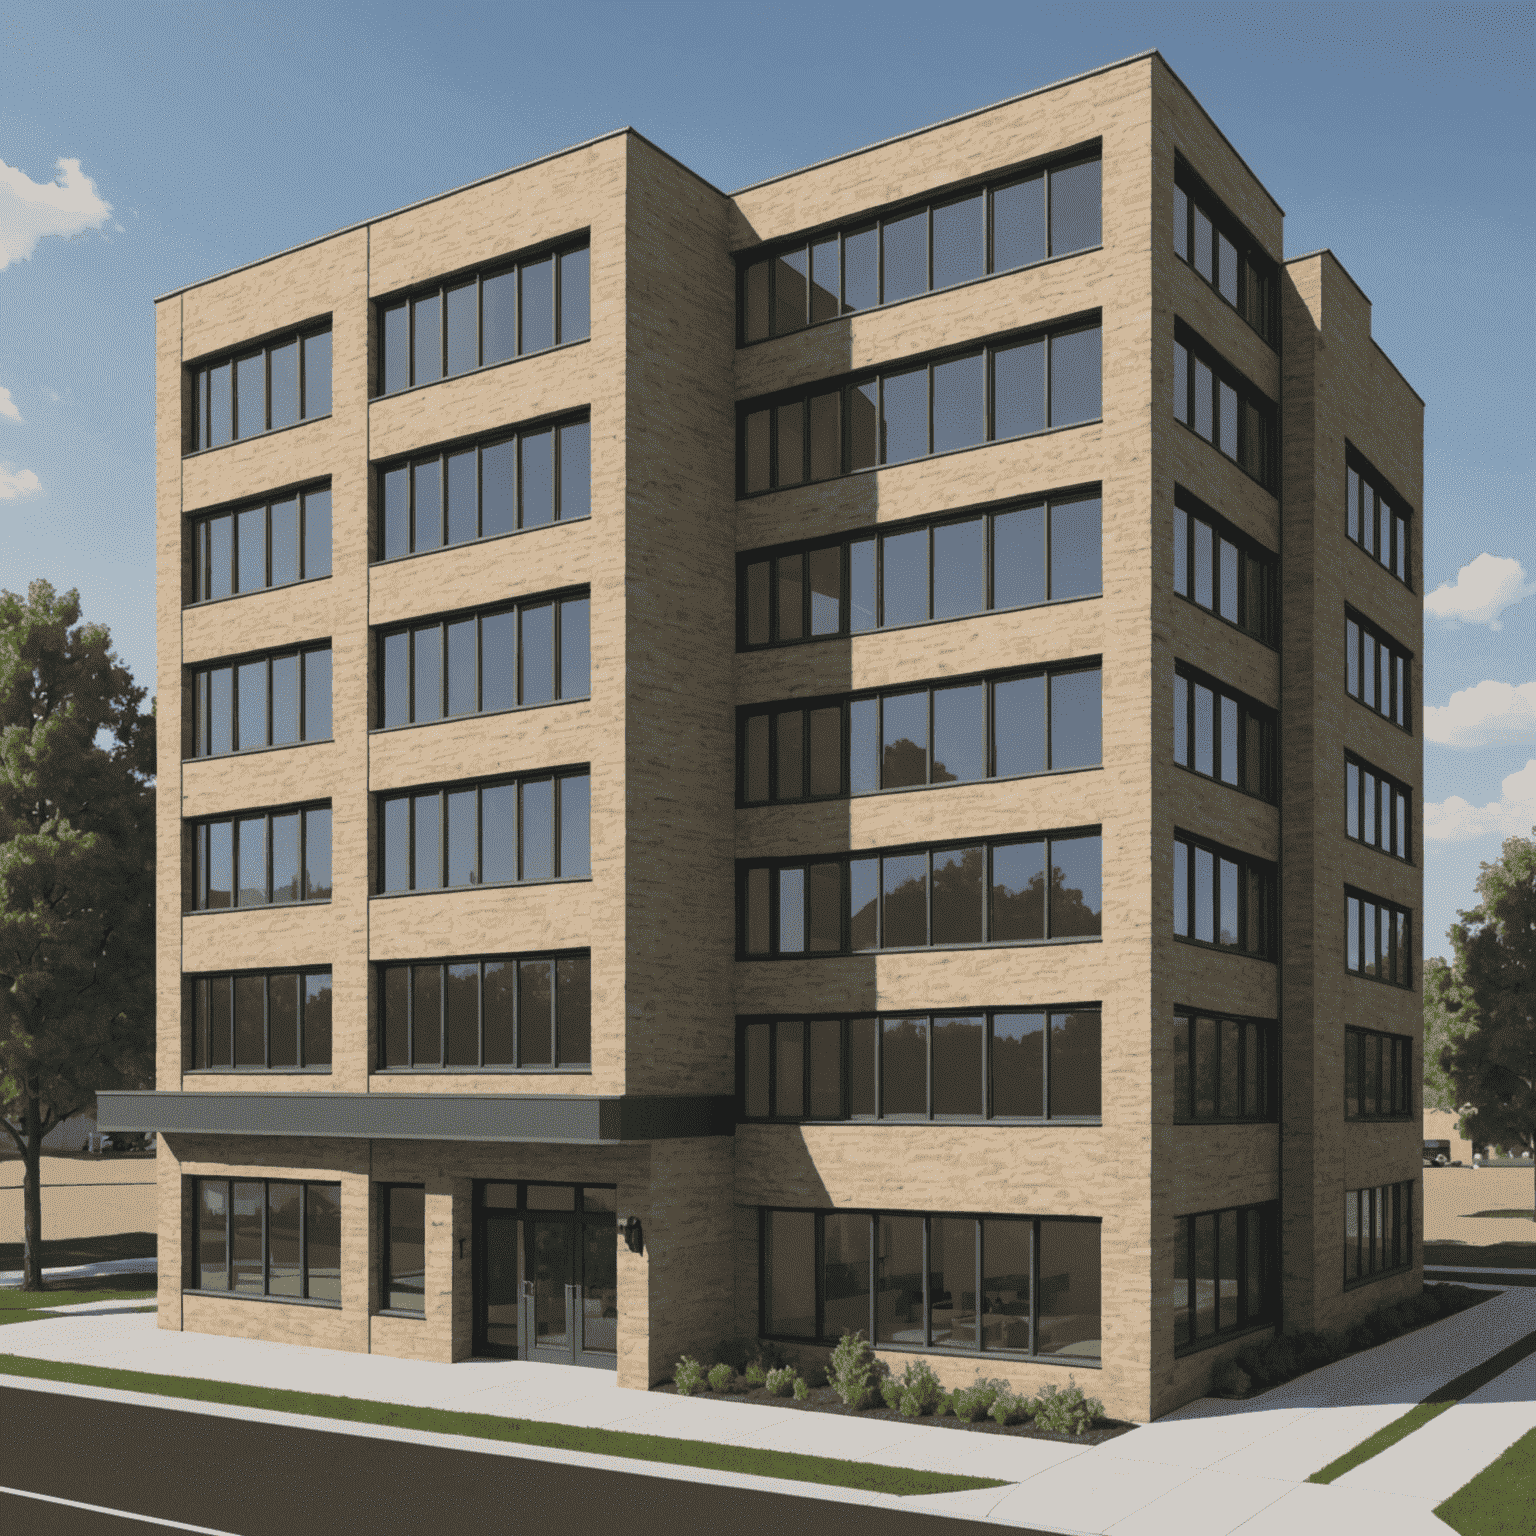
Before diving into rendering, ensure your SketchUp model is properly constructed with clean geometry, organized layers, and appropriate level of detail.
Step 1: Preparing Your SketchUp Model
A well-prepared model is essential for achieving high-quality renders:
- Clean up geometry - Remove unnecessary edges, fix reversed faces, and ensure all components are properly aligned.
- Organize with layers - Group elements logically to manage visibility and make later adjustments easier.
- Apply basic materials - Assign appropriate materials to all surfaces, even if they'll be refined later.
- Set up scenes - Create camera views that highlight the best aspects of your model.
Properly organized SketchUp model with clean geometry
Basic material application in SketchUp
Step 2: Choosing Your Rendering Solution
Several rendering options are available for SketchUp users, each with different capabilities and learning curves:
Built-in Options:
- SketchUp's native styles - Limited photorealism but easy to use
- V-Ray for SketchUp - Professional rendering engine with extensive material libraries
- Enscape - Real-time rendering with intuitive interface
- Lumion - Excellent for architectural visualization with atmospheric effects
- D5 Render - Fast real-time renderer with impressive lighting capabilities
External Workflow Options:
- Export to Blender - Free and powerful but steeper learning curve
- Export to 3ds Max + Corona/V-Ray - Industry standard for high-end visualization
For beginners, Enscape or Lumion offer the best balance between quality and ease of use. For this tutorial, we'll focus on using V-Ray as it's widely adopted in professional environments.
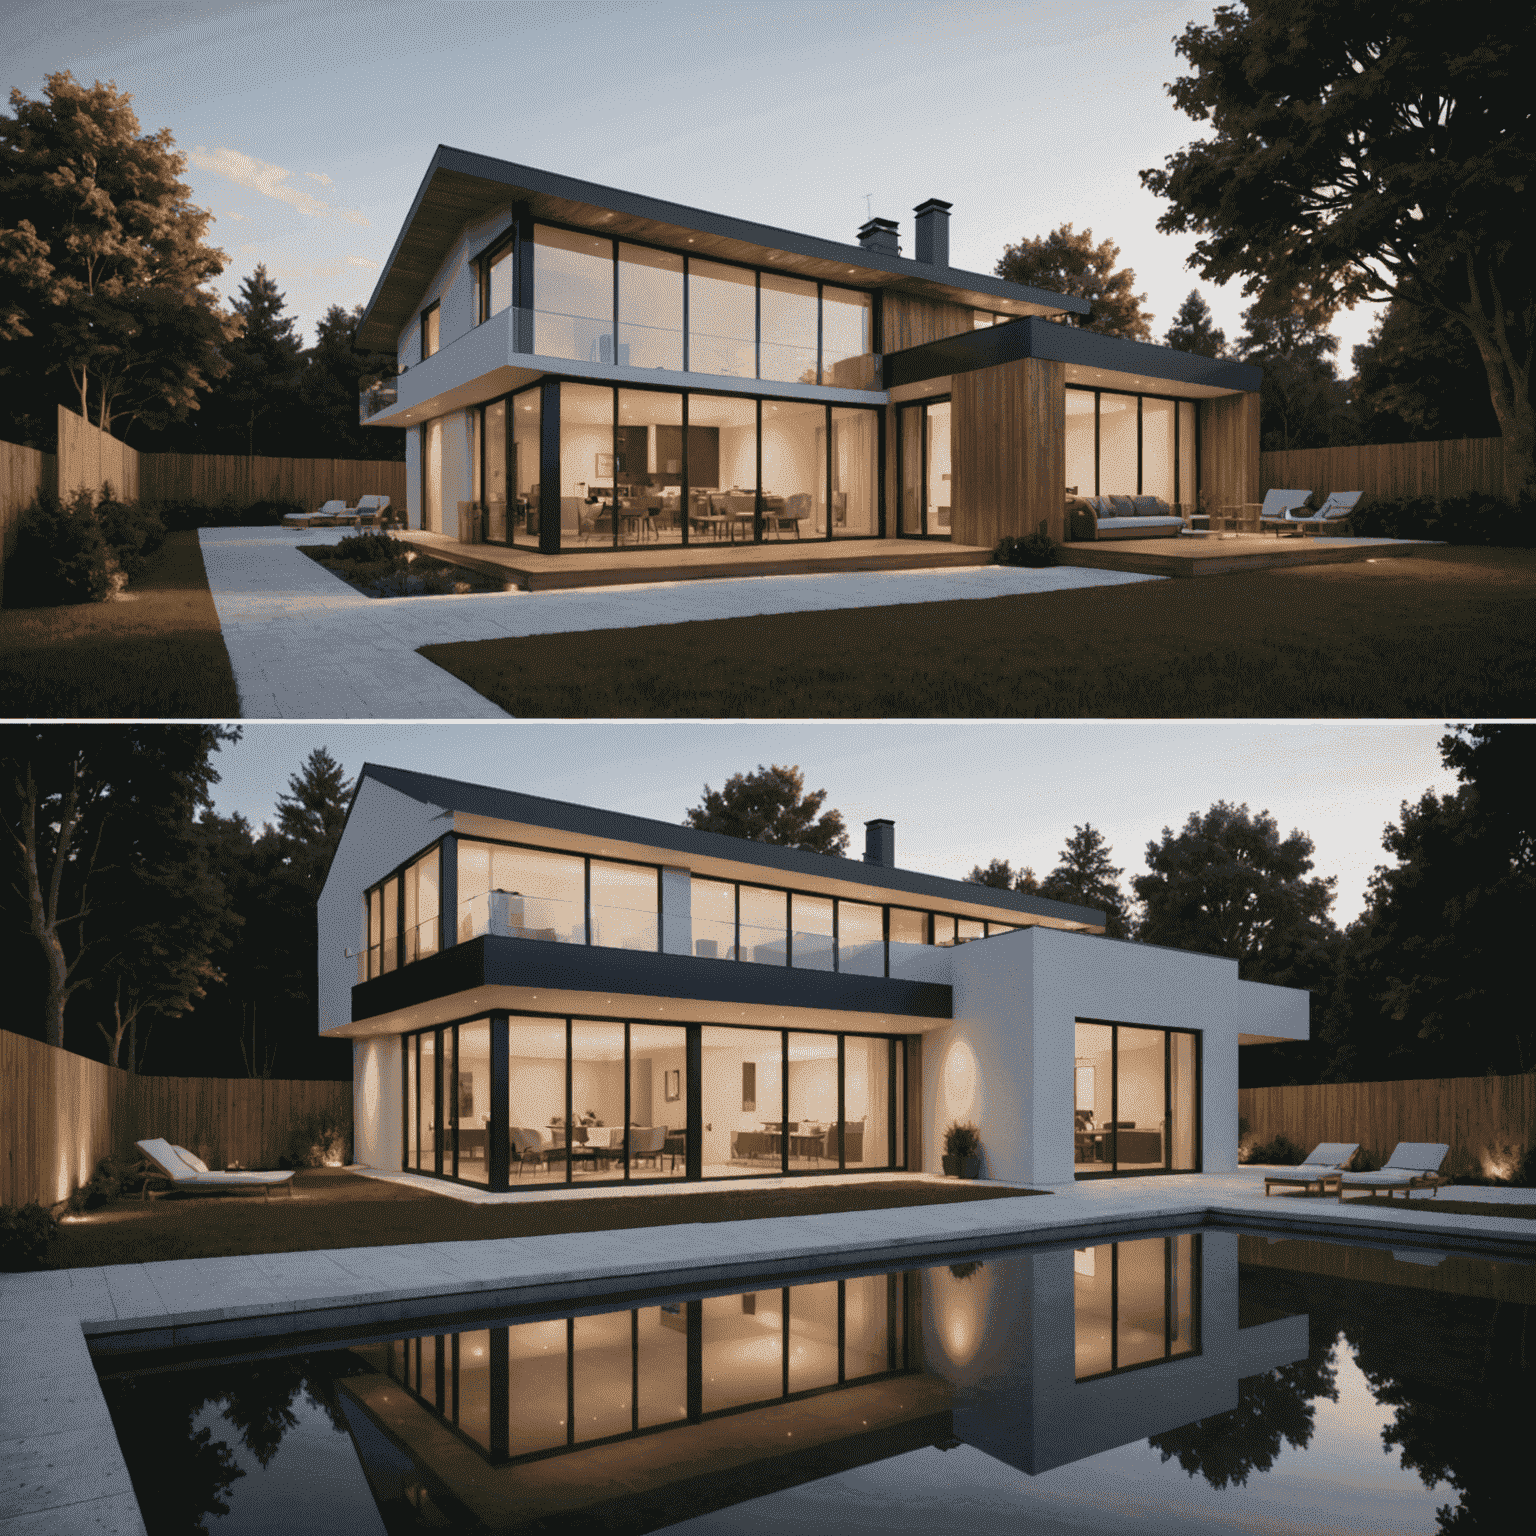
Step 3: Setting Up Lighting
Lighting is perhaps the most critical element in creating photorealistic renders:
Natural Lighting:
- Sun positioning - Set the sun angle to create appropriate shadows and highlight architectural features.
- HDRI environment - Use high-dynamic-range imaging to create realistic ambient lighting and reflections.
Artificial Lighting:
- Interior lights - Place light fixtures with appropriate intensity and color temperature.
- IES profiles - Use photometric data for accurate light distribution patterns.
- Emissive materials - Create glowing surfaces for screens, signage, or decorative elements.
Comparison of basic lighting vs. advanced lighting setup with HDRI
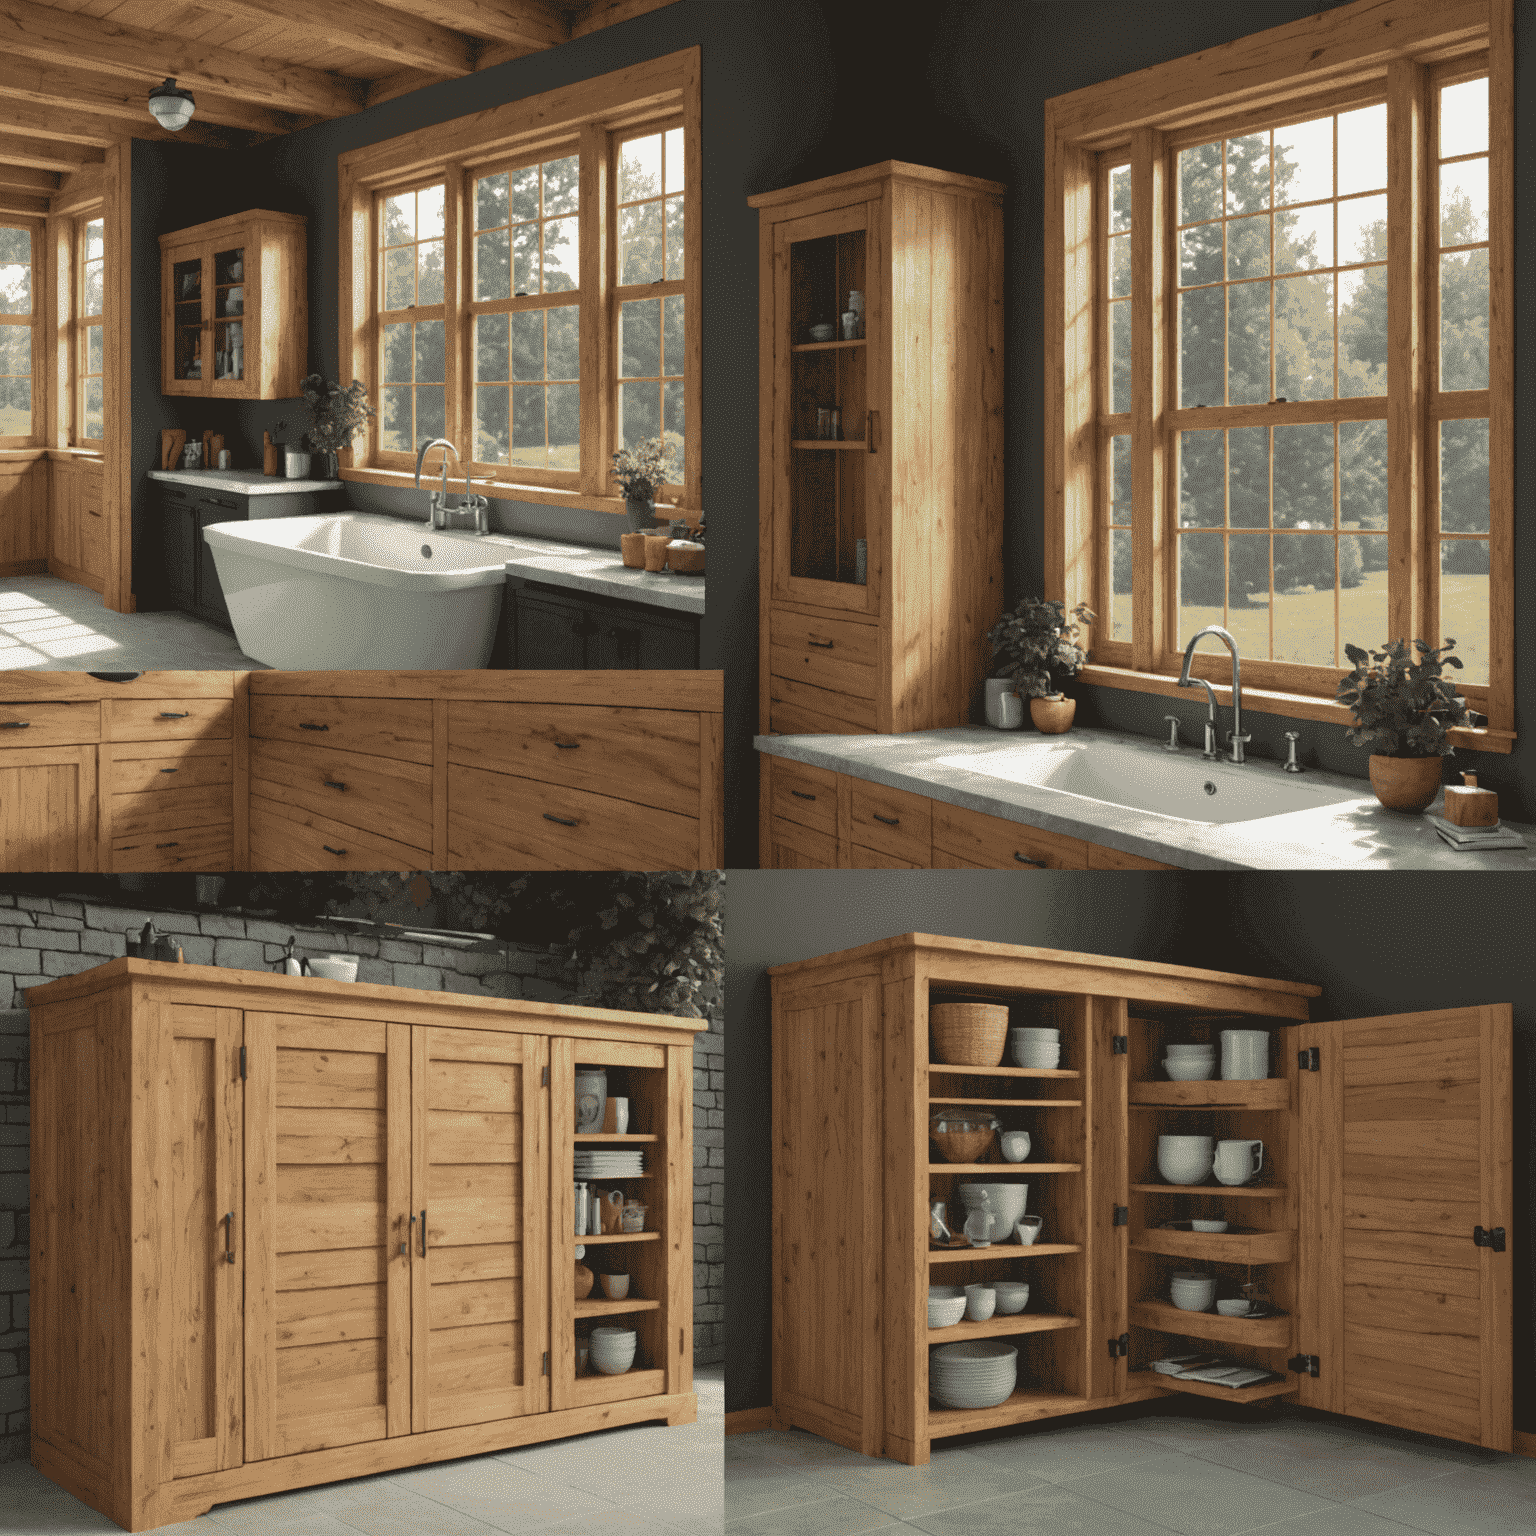
Step 4: Creating Realistic Materials
Materials bring your model to life by defining how surfaces interact with light:
Material Properties to Consider:
- Diffuse/Base Color - The primary color or texture of the surface
- Reflectivity/Glossiness - How much light the surface reflects
- Bump/Normal mapping - Surface irregularities that add detail without geometry
- Displacement - Actual geometric detail for close-up surfaces
- Transparency/Refraction - For glass and water surfaces
- Subsurface Scattering - For translucent materials like skin, wax, or marble
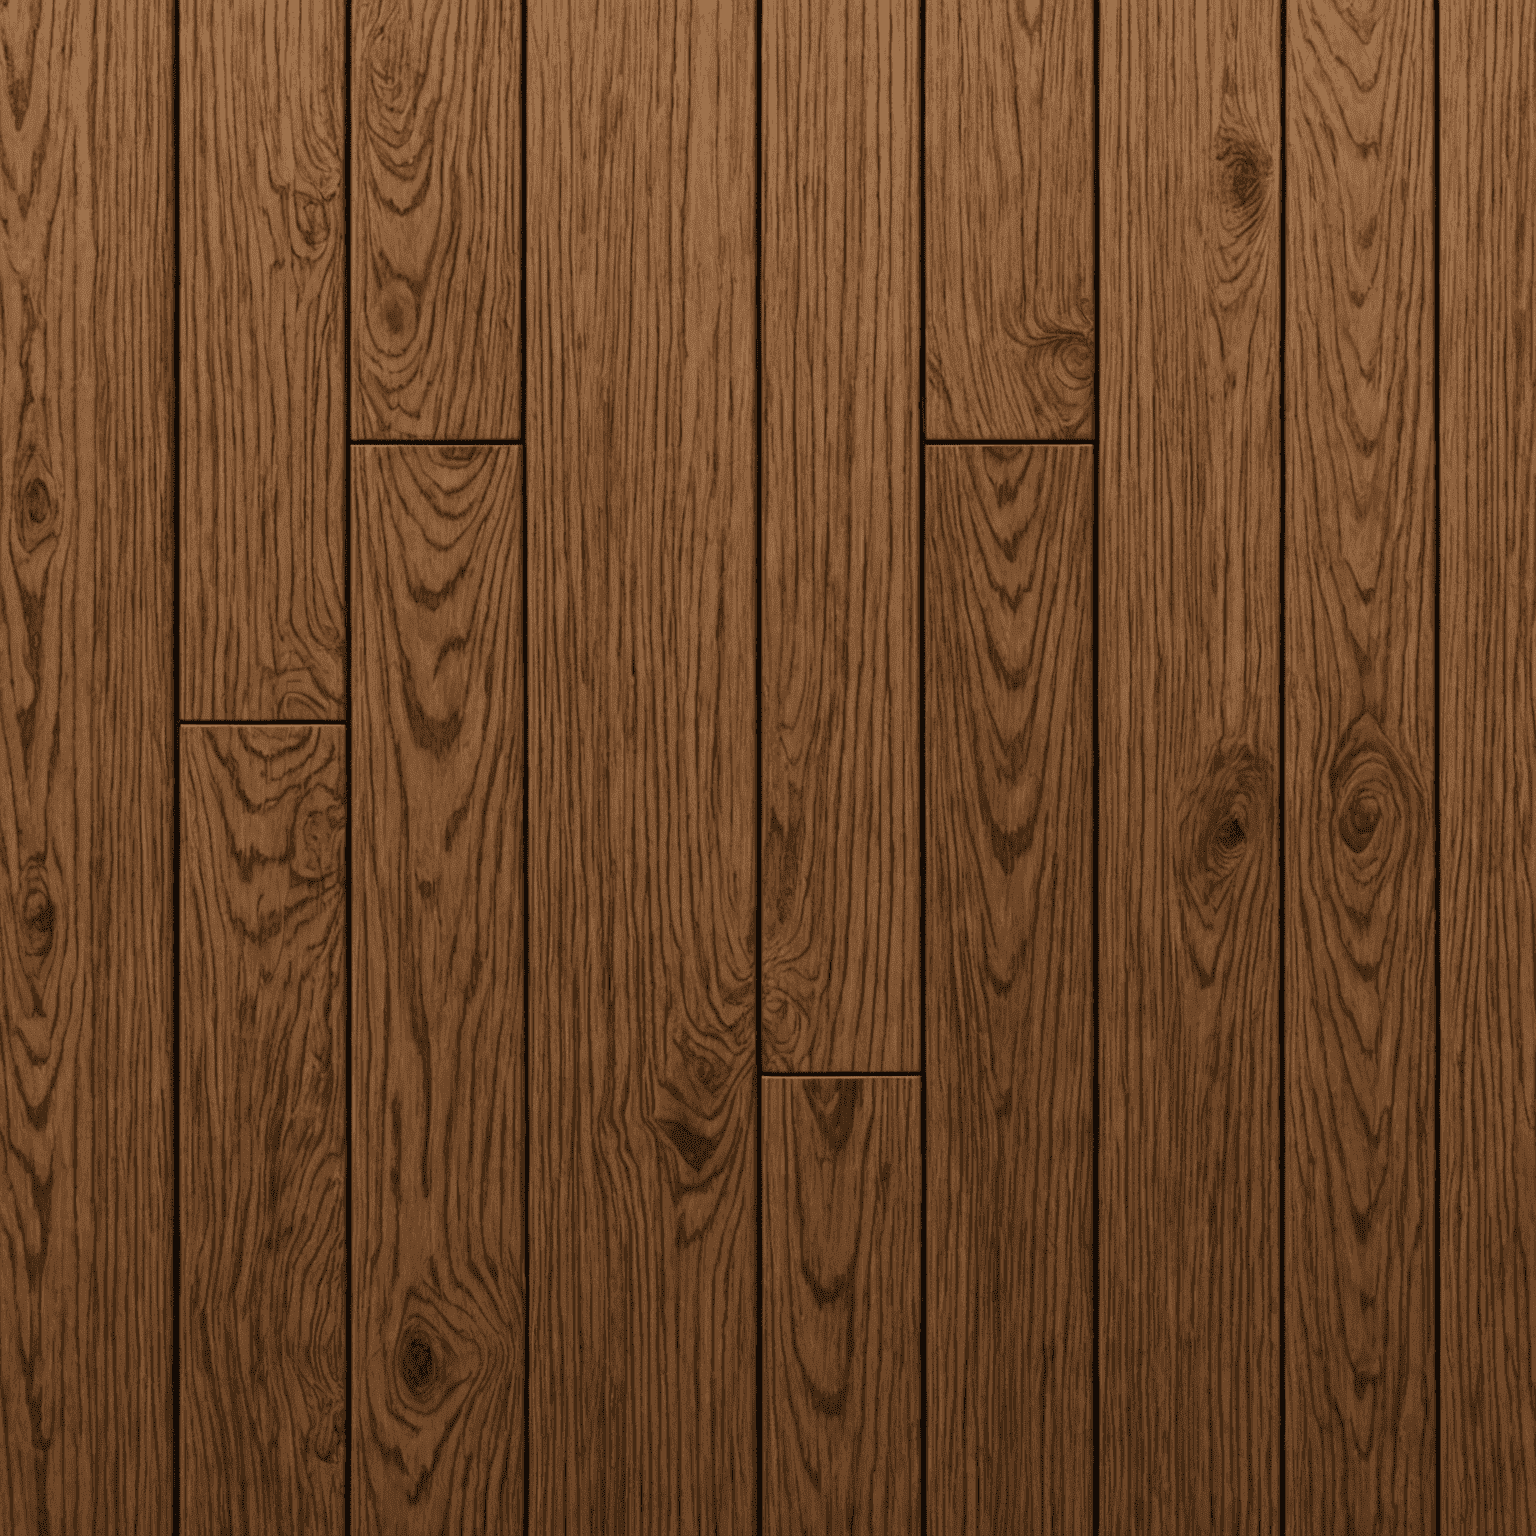
Realistic wood material
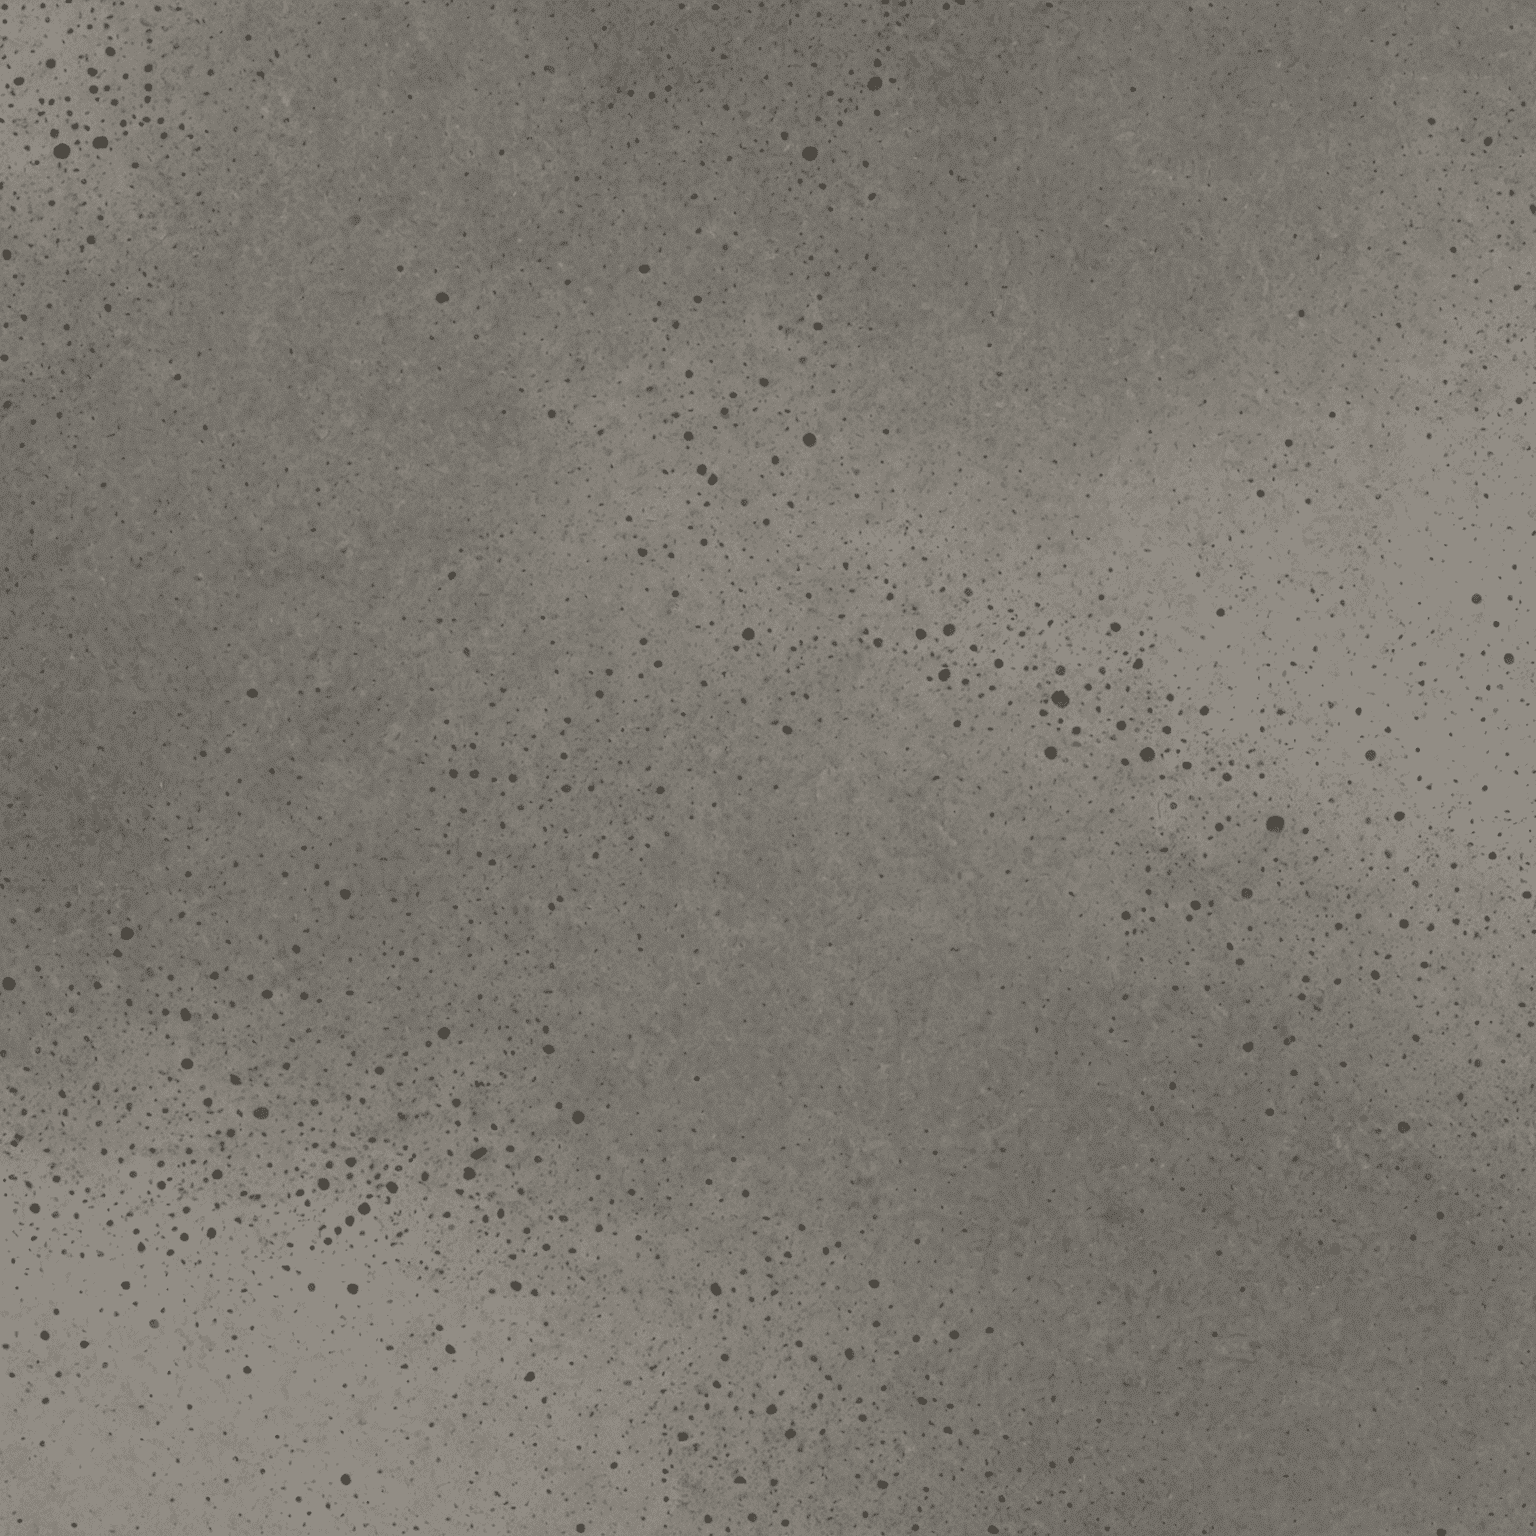
Polished concrete material
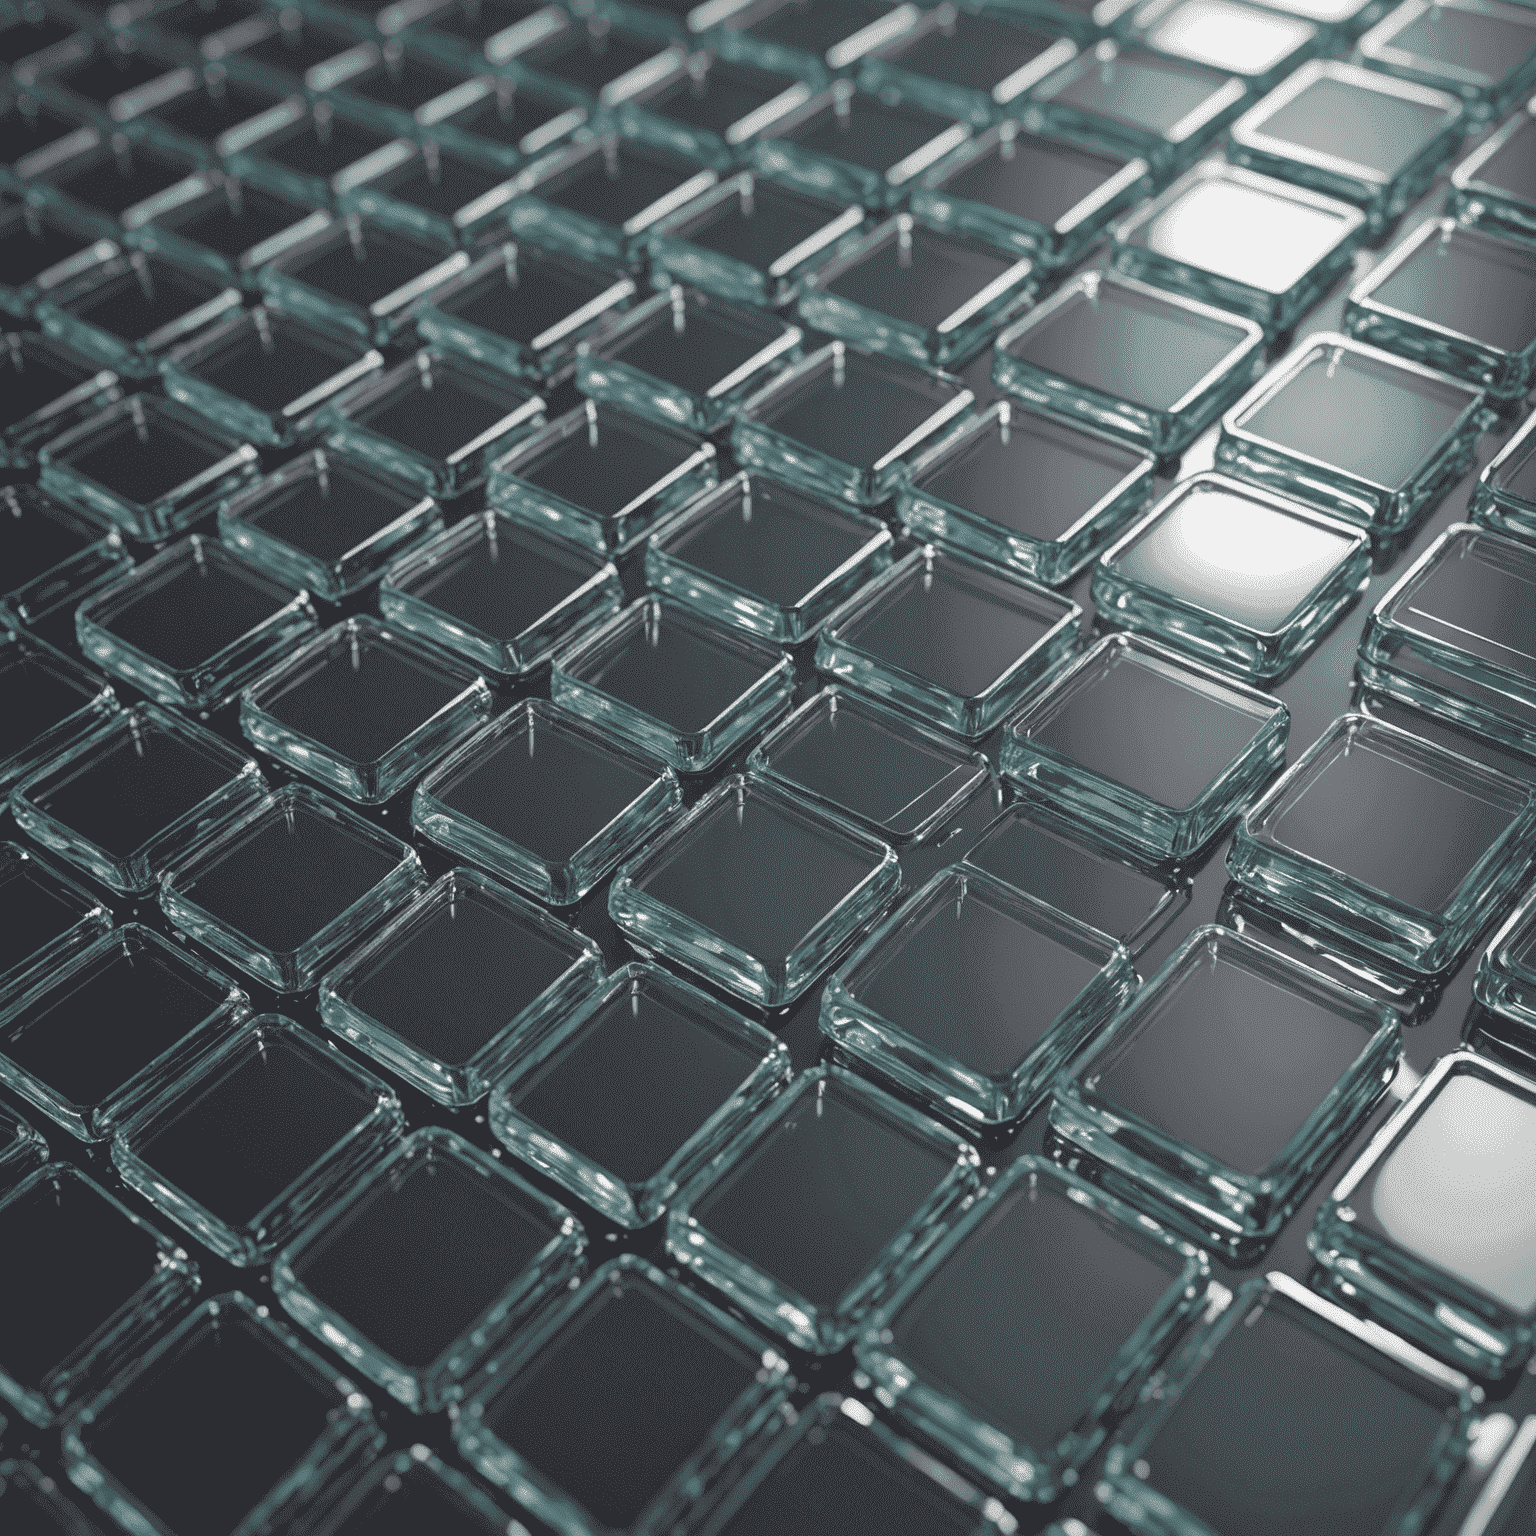
Glass material with proper refraction
Material libraries can save time, but knowing how to adjust properties is essential for achieving the exact look you want. Consider creating a material reference board for your project to maintain consistency.
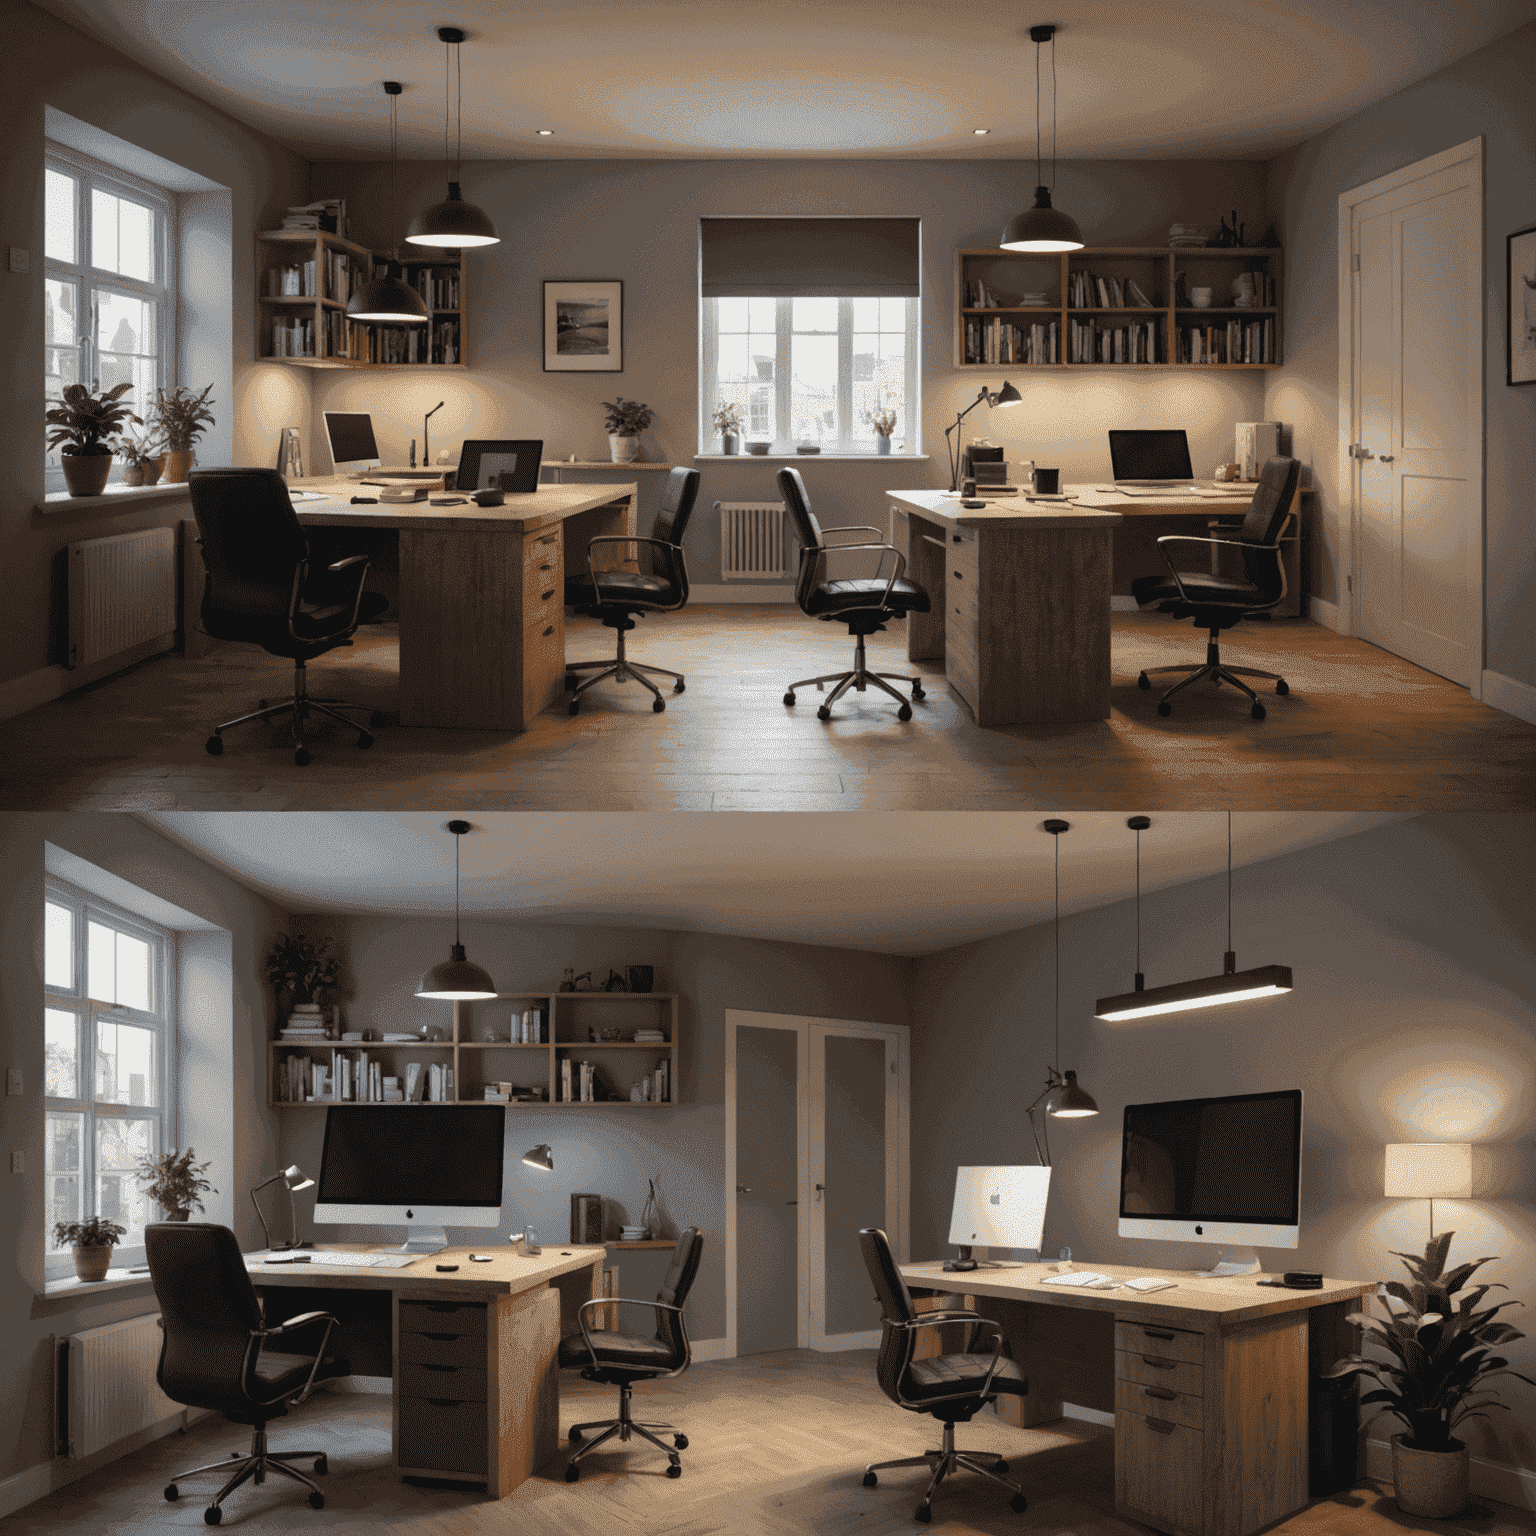
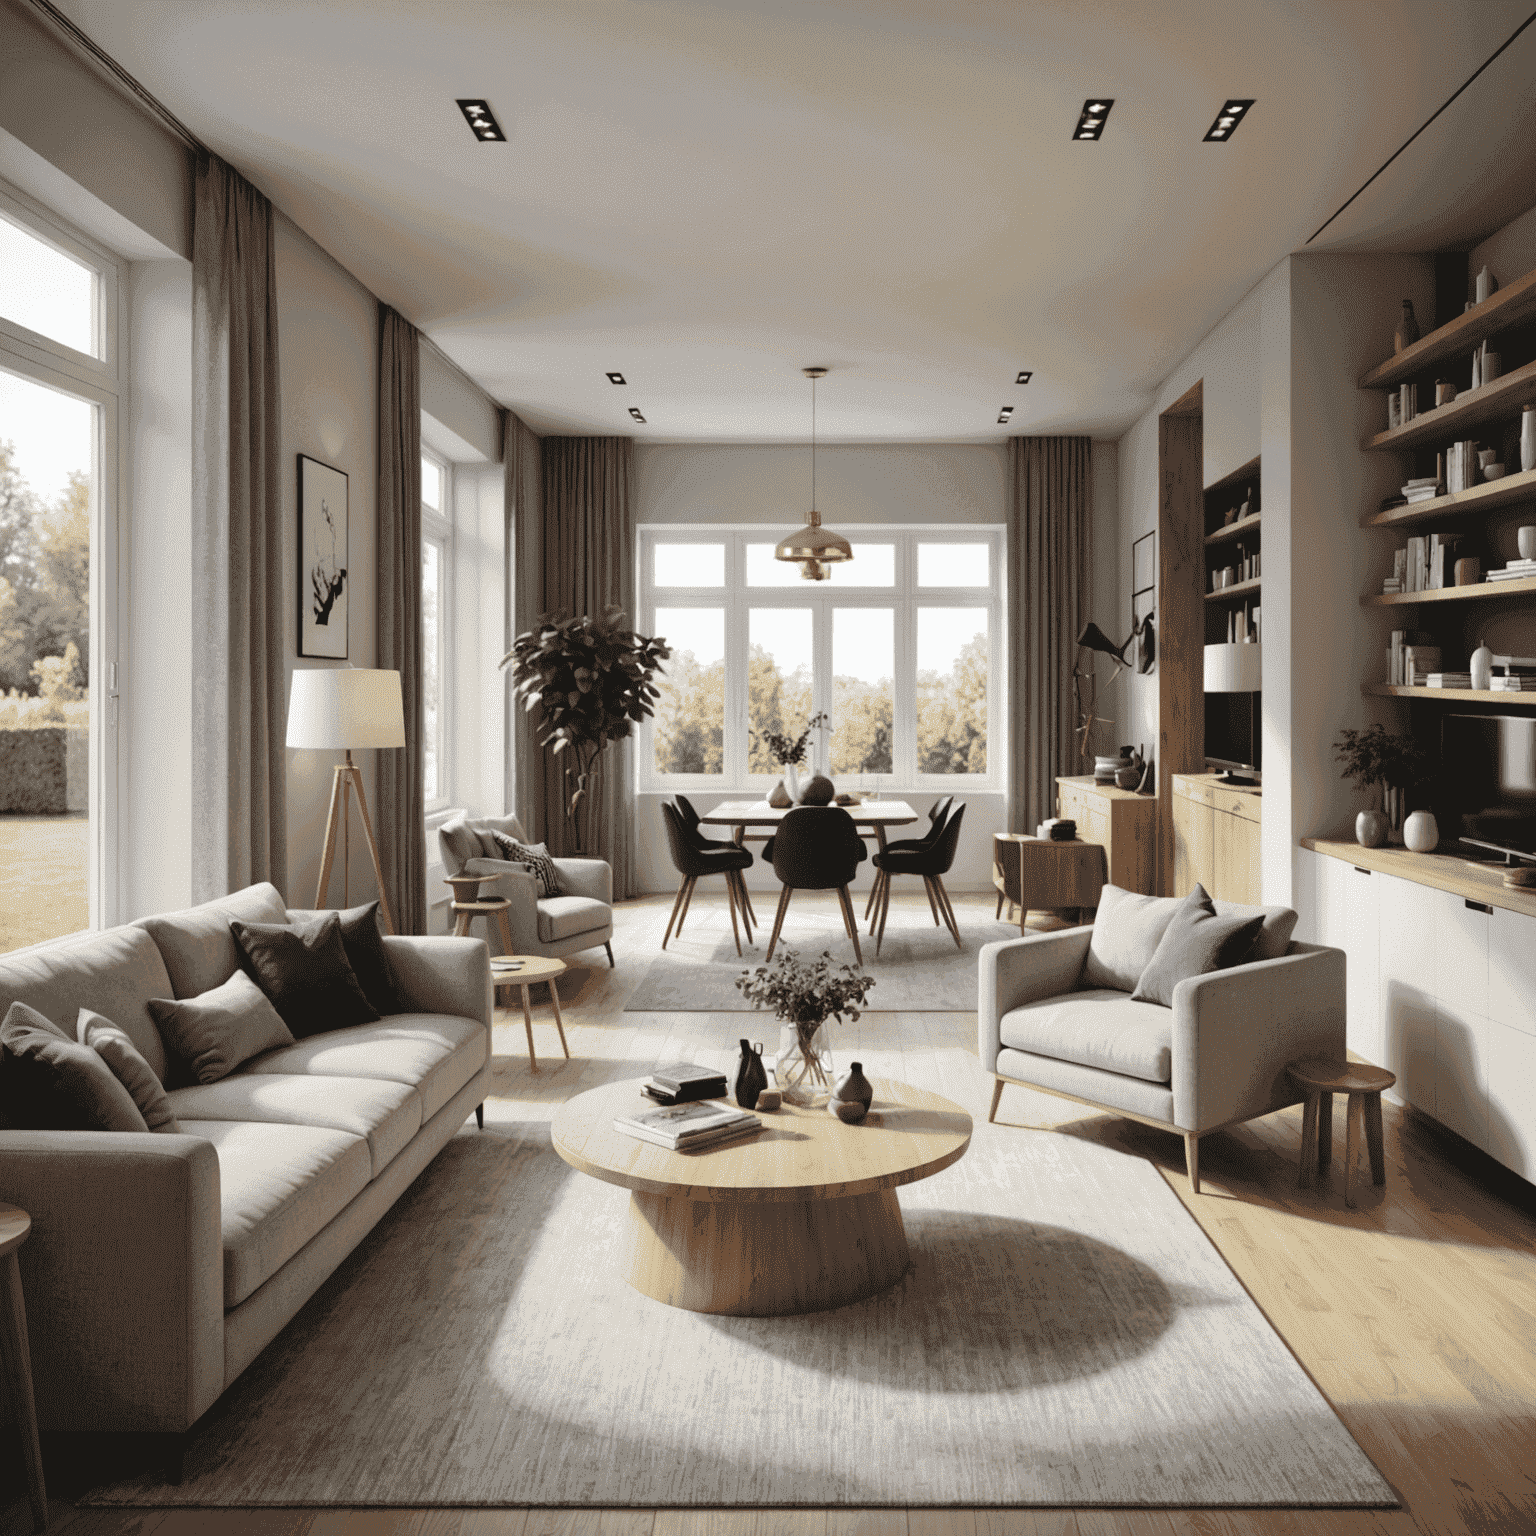
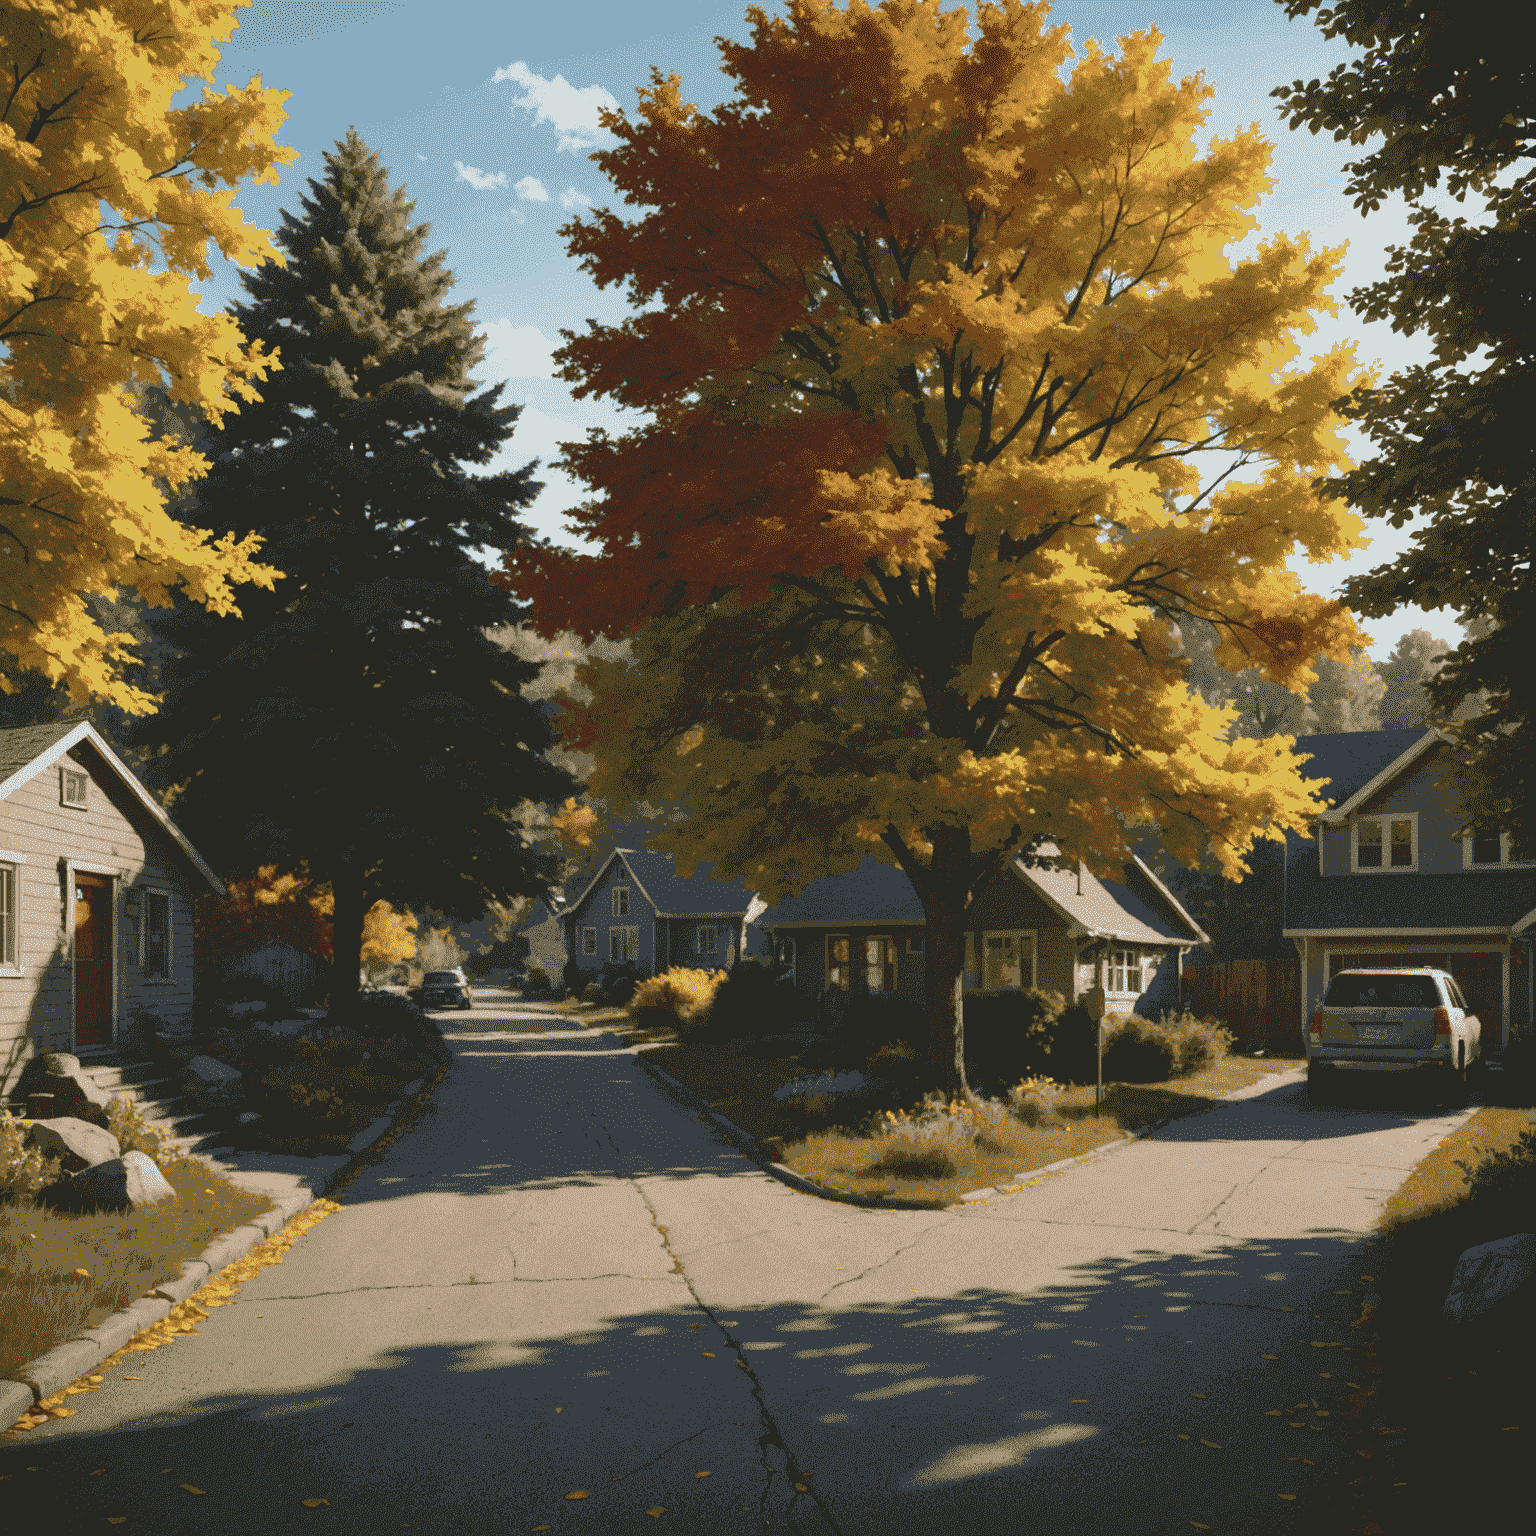
Step 5: Adding Environmental Context
Context helps ground your model in reality and provides scale reference:
- Terrain and landscaping - Add topography, plants, and hardscaping elements
- Entourage - Include people, vehicles, and furniture for scale and life
- Background - Use backplates or HDRI environments for distant views
- Weather effects - Consider adding rain, fog, or snow for mood
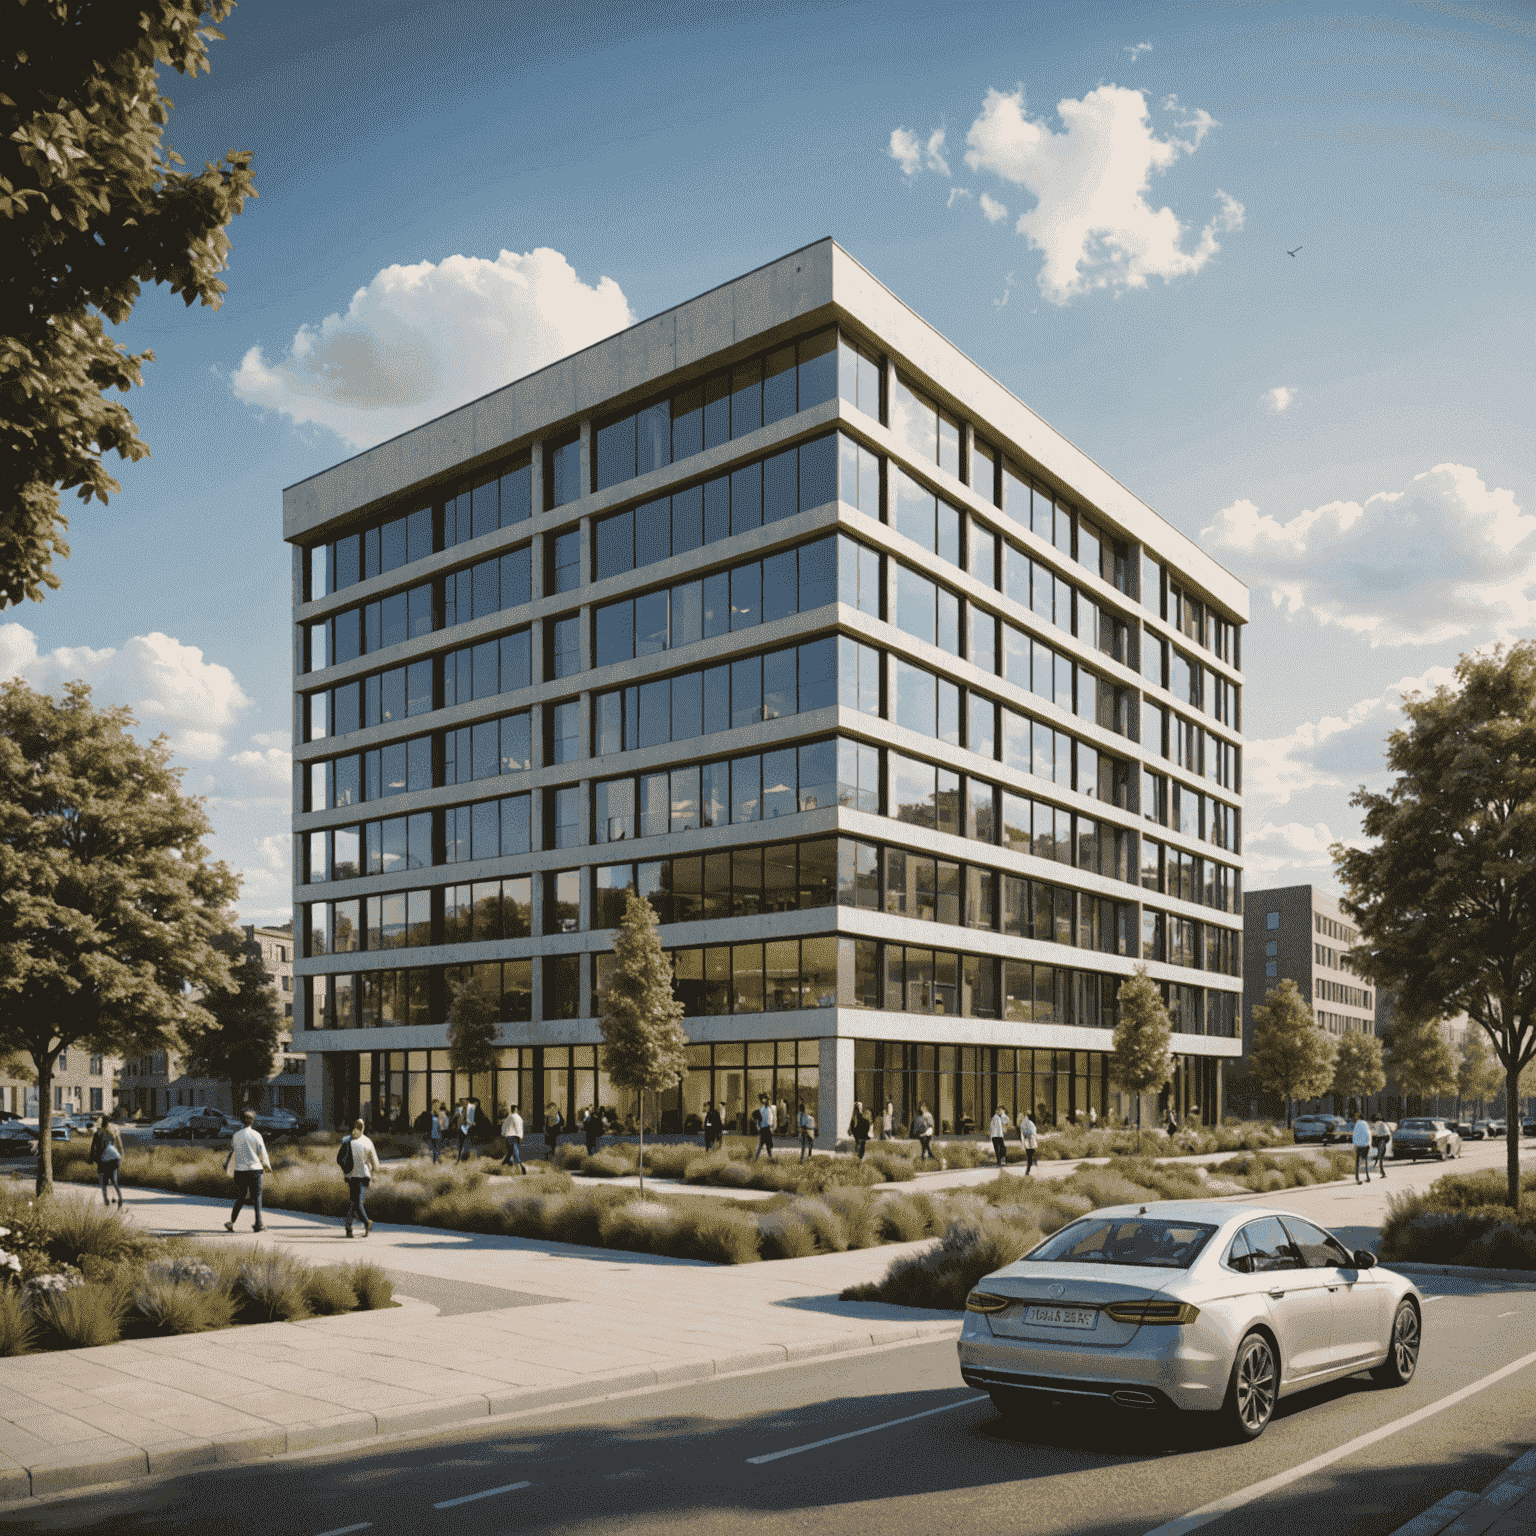
Model with complete environmental context
Step 6: Camera Settings and Composition
Professional photography principles apply to 3D rendering as well:
Camera Settings:
- Focal length - 24-35mm for exteriors, 16-24mm for interiors, 50mm for details
- Aperture/Depth of field - Use selectively to focus attention
- Height - Typically 5'6" (eye level) for interiors, can be higher for exteriors
- Vertical correction - Adjust to prevent converging vertical lines
Composition Principles:
- Rule of thirds - Place key elements at intersection points
- Leading lines - Use architectural elements to guide the viewer's eye
- Framing - Use foreground elements to frame the main subject
- Balance - Create visual equilibrium between elements

Rule of thirds applied to architectural rendering
Depth of field used to direct attention
Step 7: Render Settings and Output
Balancing quality and render time is crucial:
Key Render Settings:
- Resolution - Minimum 1920×1080 for presentations, 3000×2000+ for prints
- Sampling/Quality - Higher samples reduce noise but increase render time
- Lighting algorithm - GI methods affect realism and render speed
- Denoising - Can significantly reduce render times while maintaining quality
Output Considerations:
- File format - PNG for transparency, JPEG for web, TIFF for print
- Color space - sRGB for screen, Adobe RGB for print
- Render elements/passes - Save depth, normal, material ID for post-processing flexibility
Step 8: Post-Processing
The final polish happens in image editing software:
- Color correction - Adjust exposure, contrast, and color balance
- Lens effects - Add subtle vignetting, chromatic aberration, or lens flares
- Atmosphere - Enhance fog, haze, or volumetric lighting
- Compositing - Blend render passes or add photographic elements
- Final touches - Sharpen details and make local adjustments
Before and after post-processing
Subtle adjustments often make the biggest difference. Aim for enhancements that maintain photorealism rather than obvious filters or effects.
Common Challenges and Solutions
| Challenge | Solution |
|---|---|